
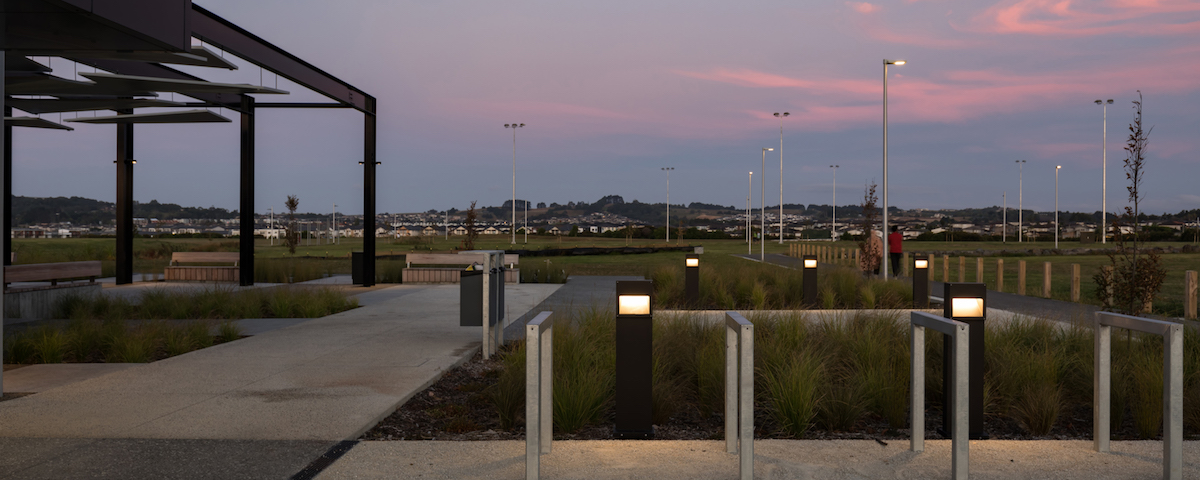
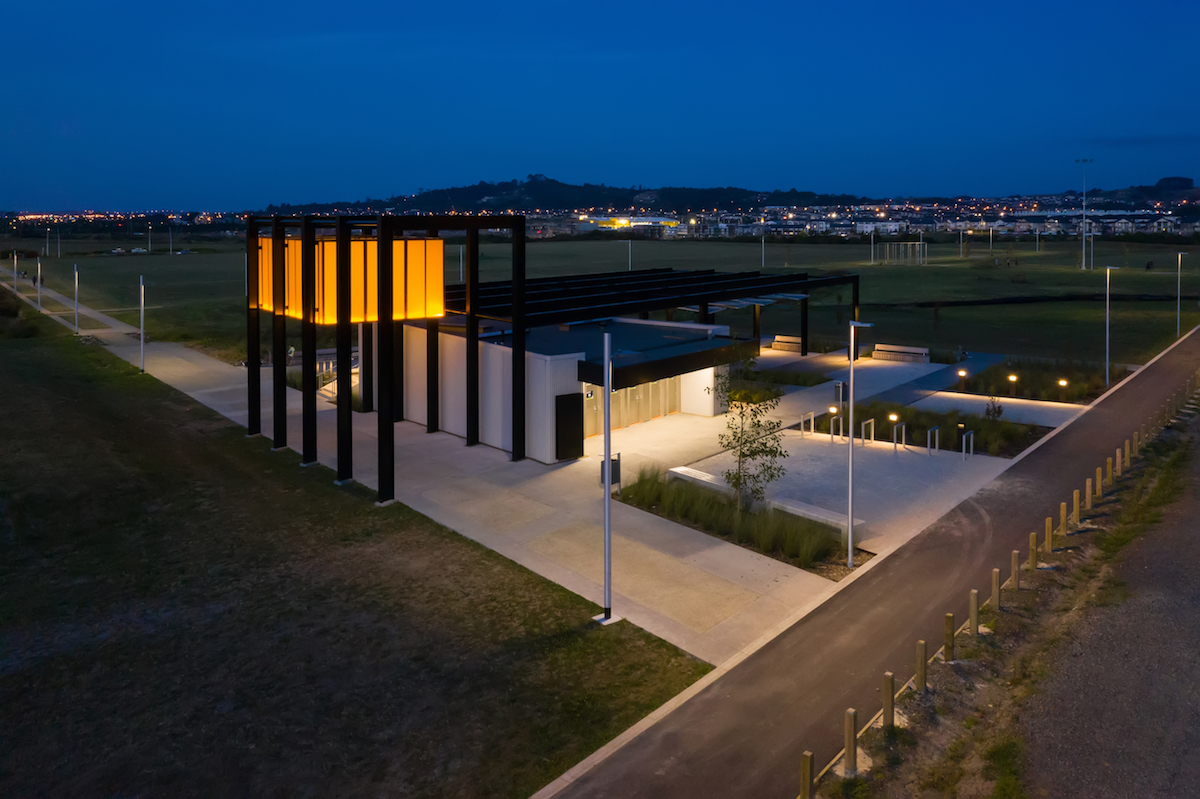
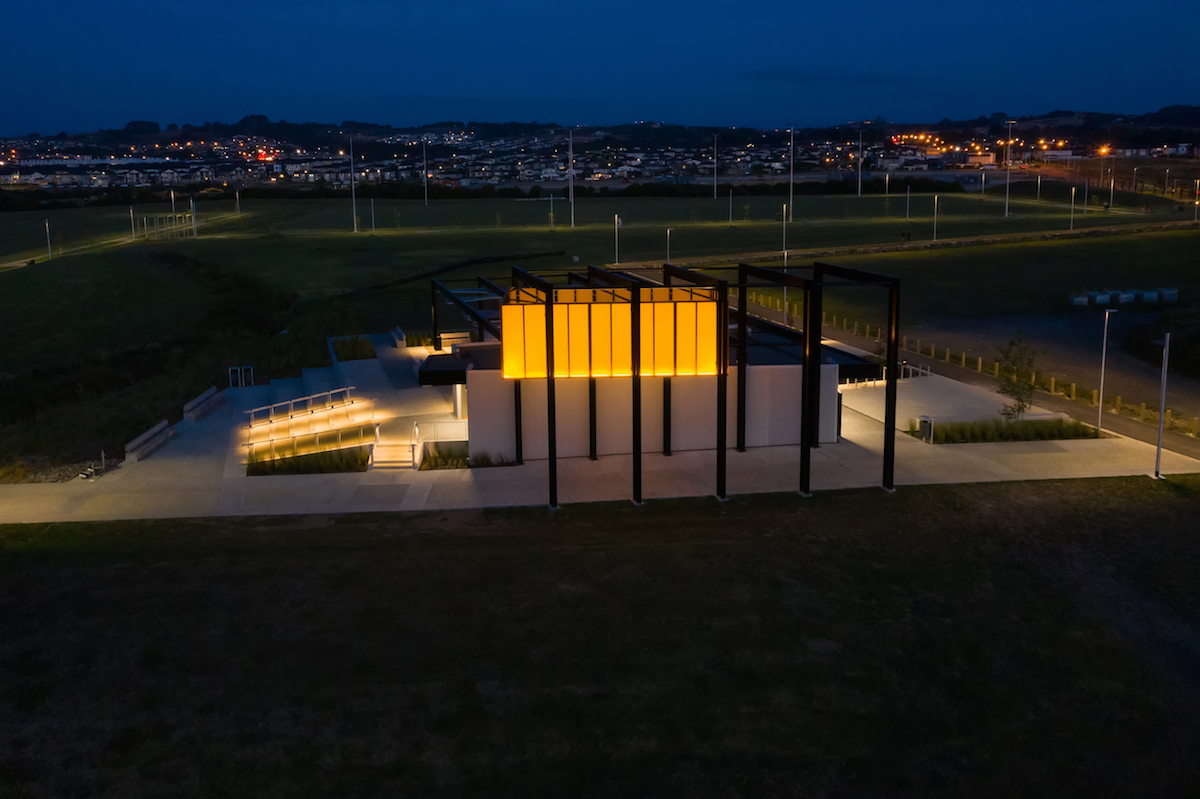
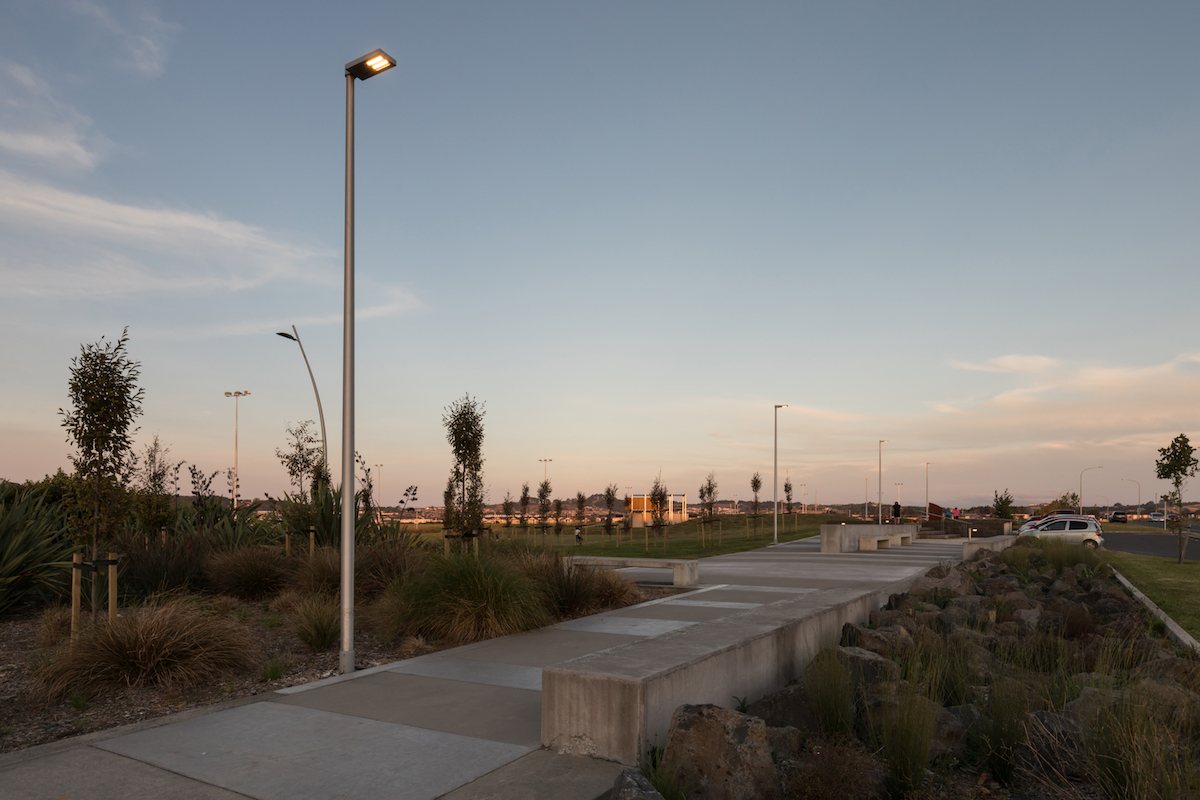
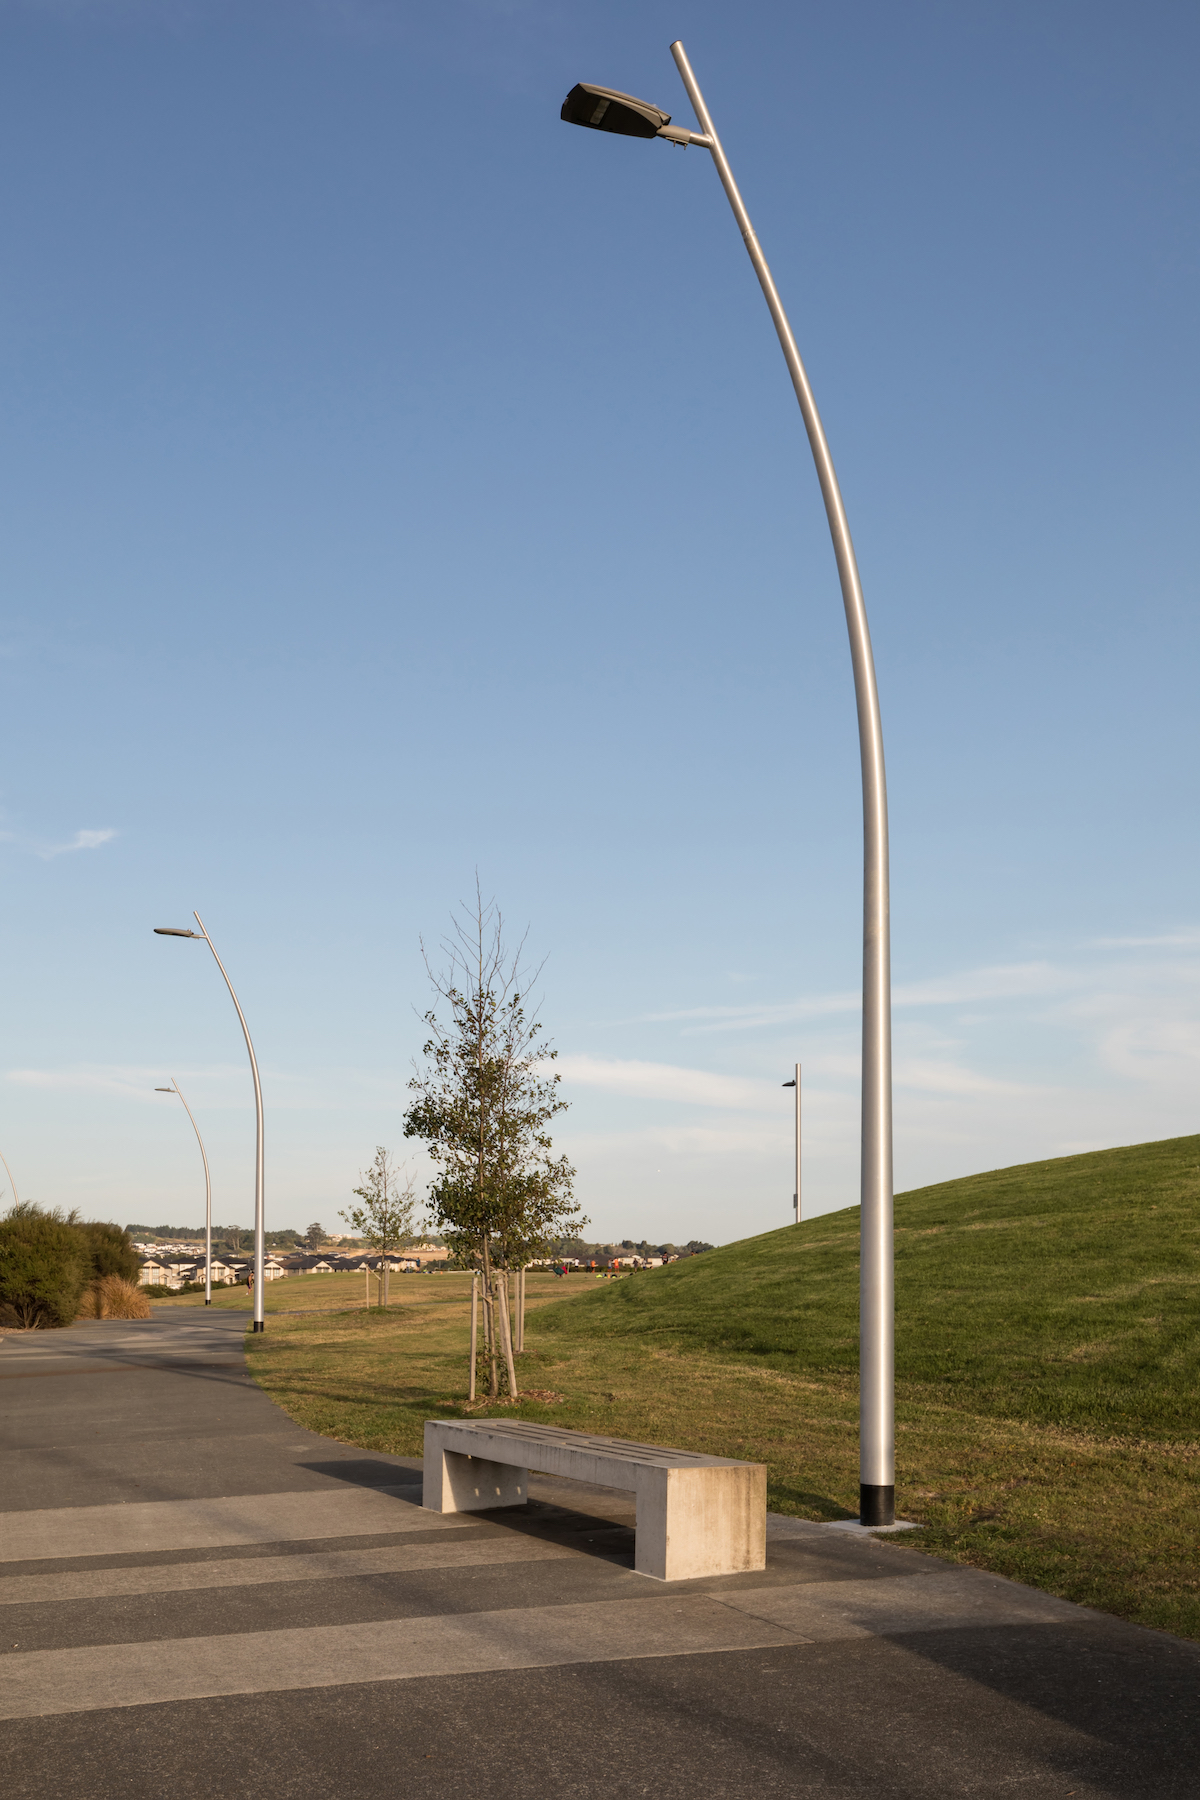
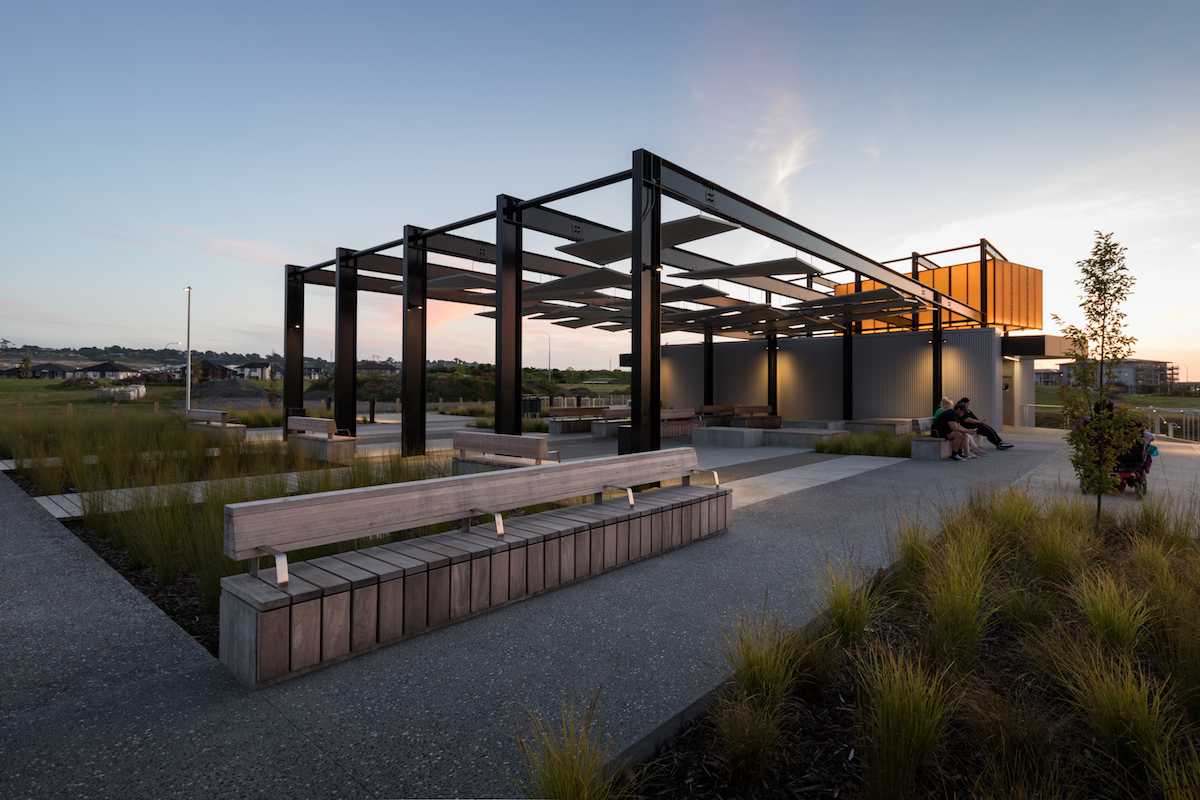
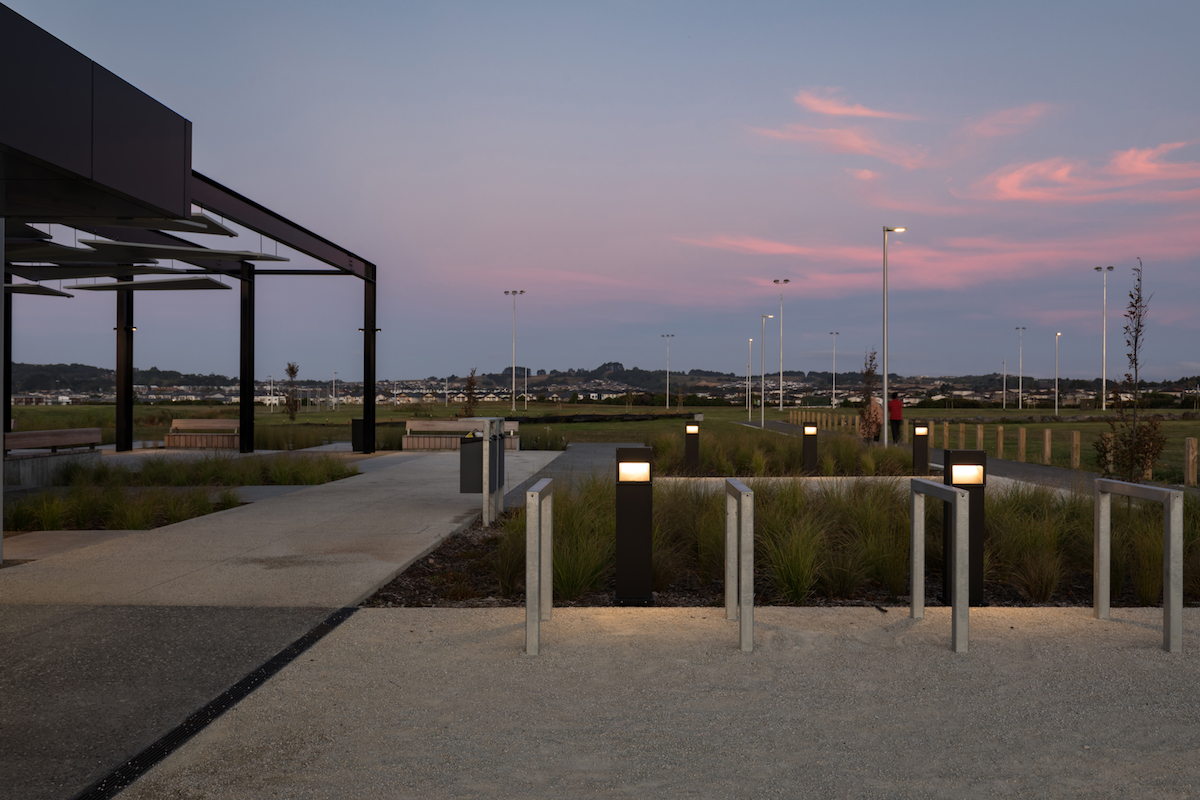
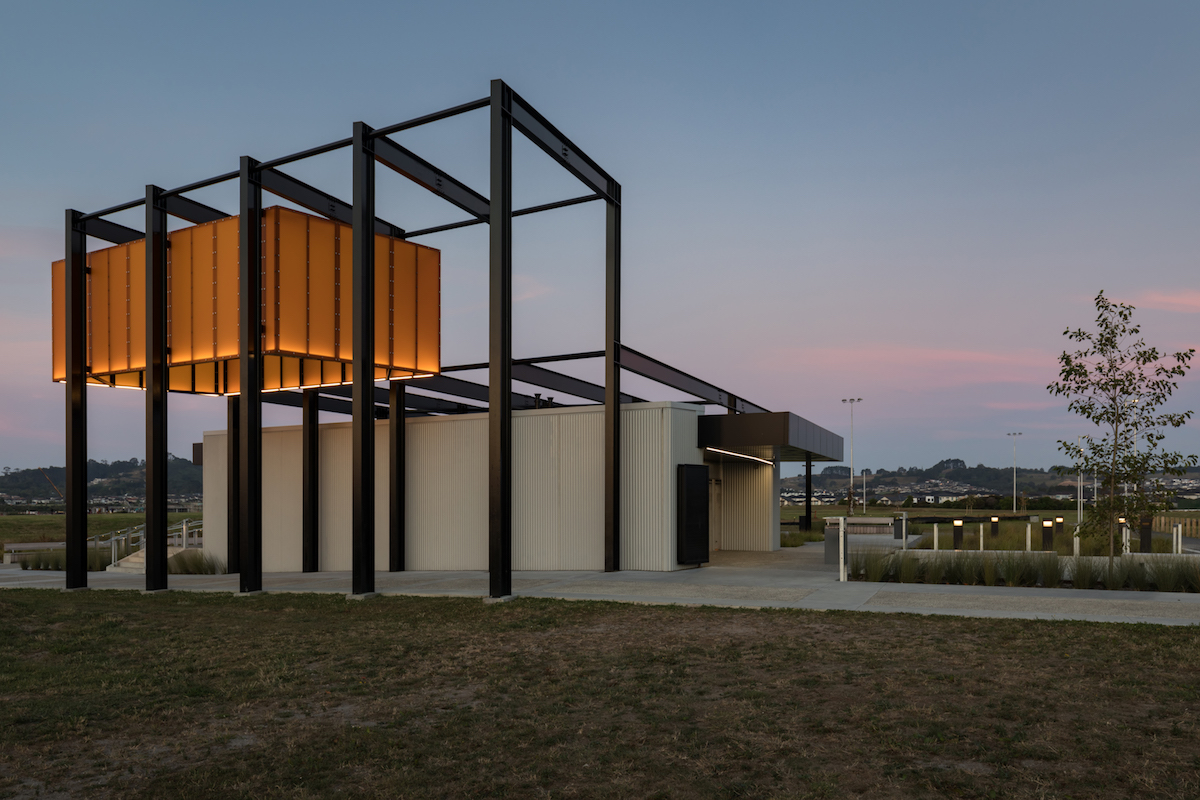
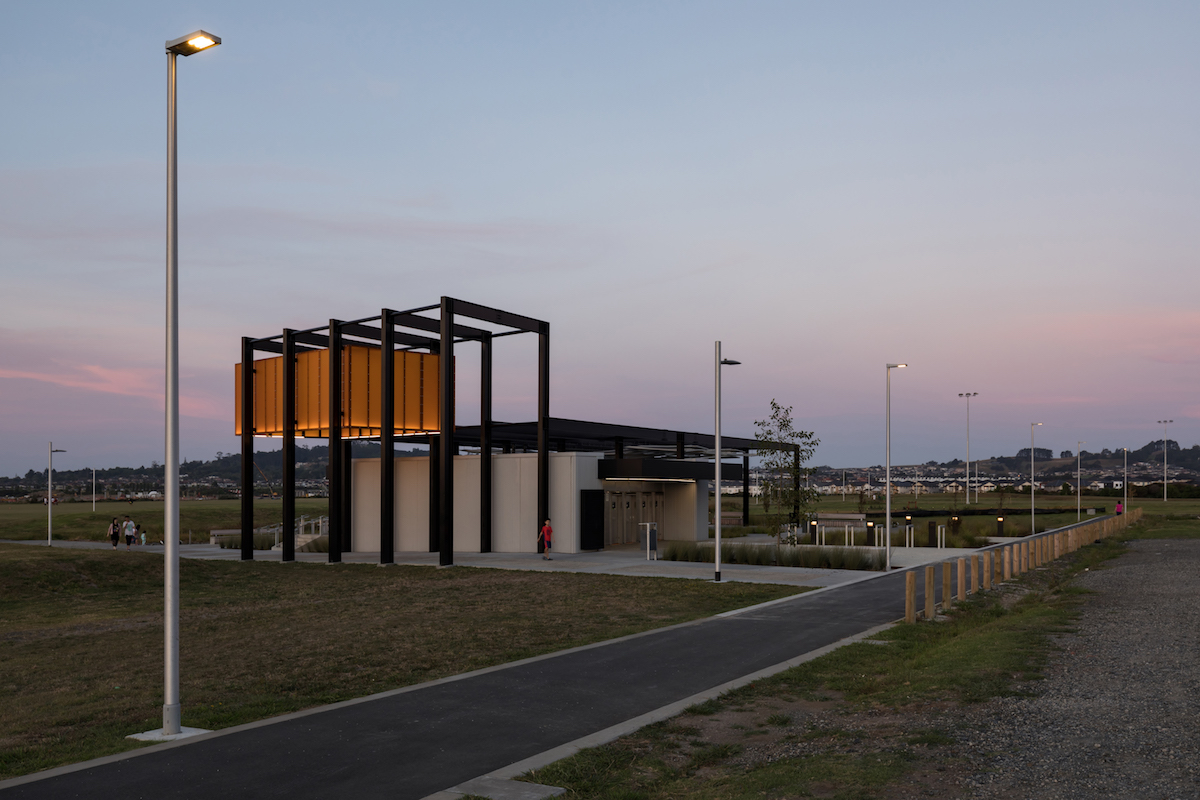
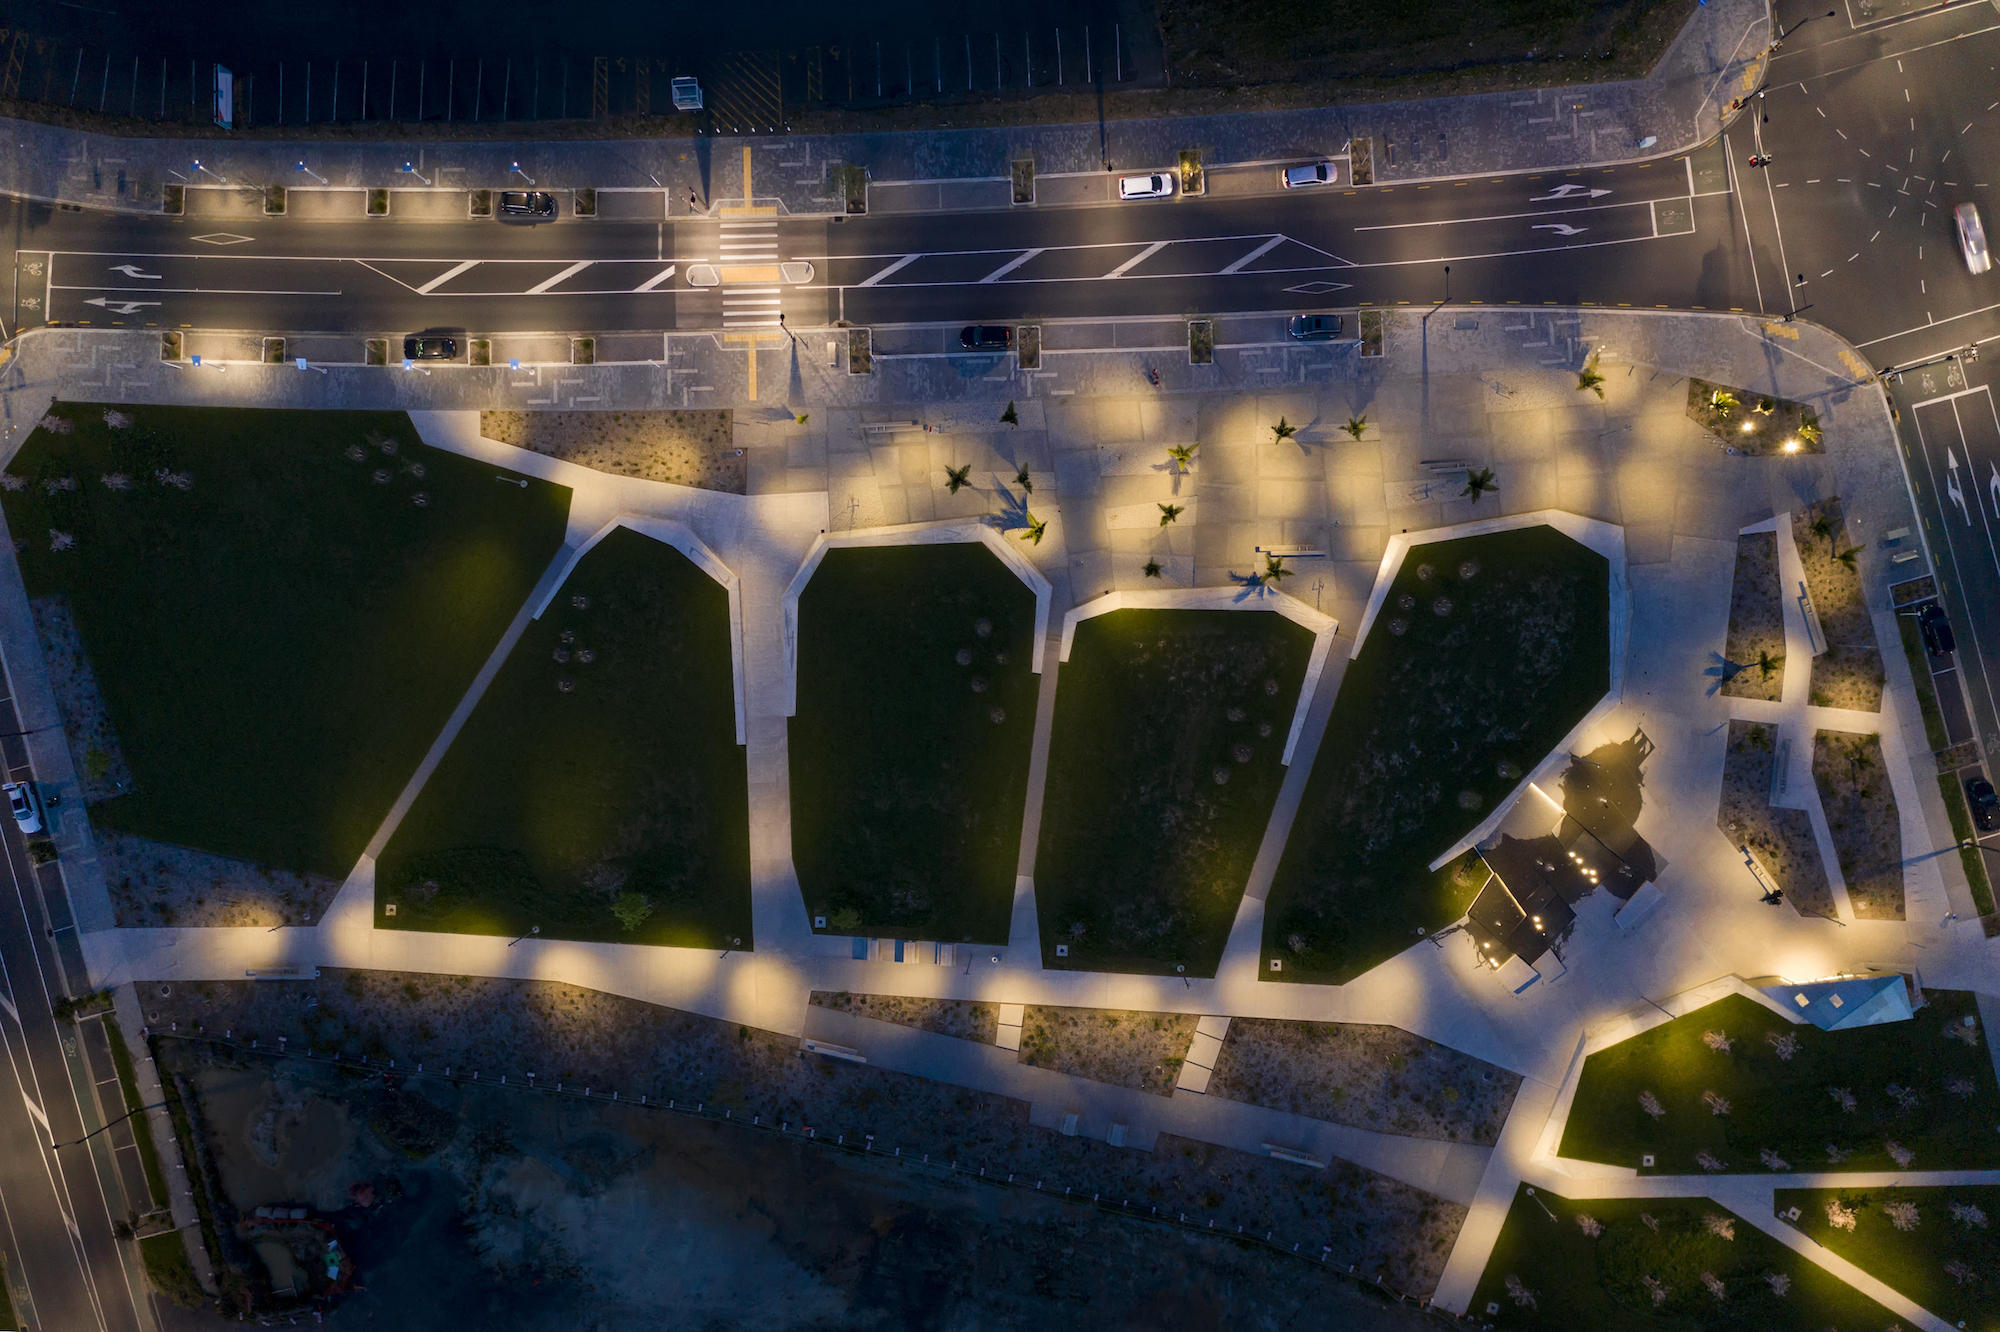
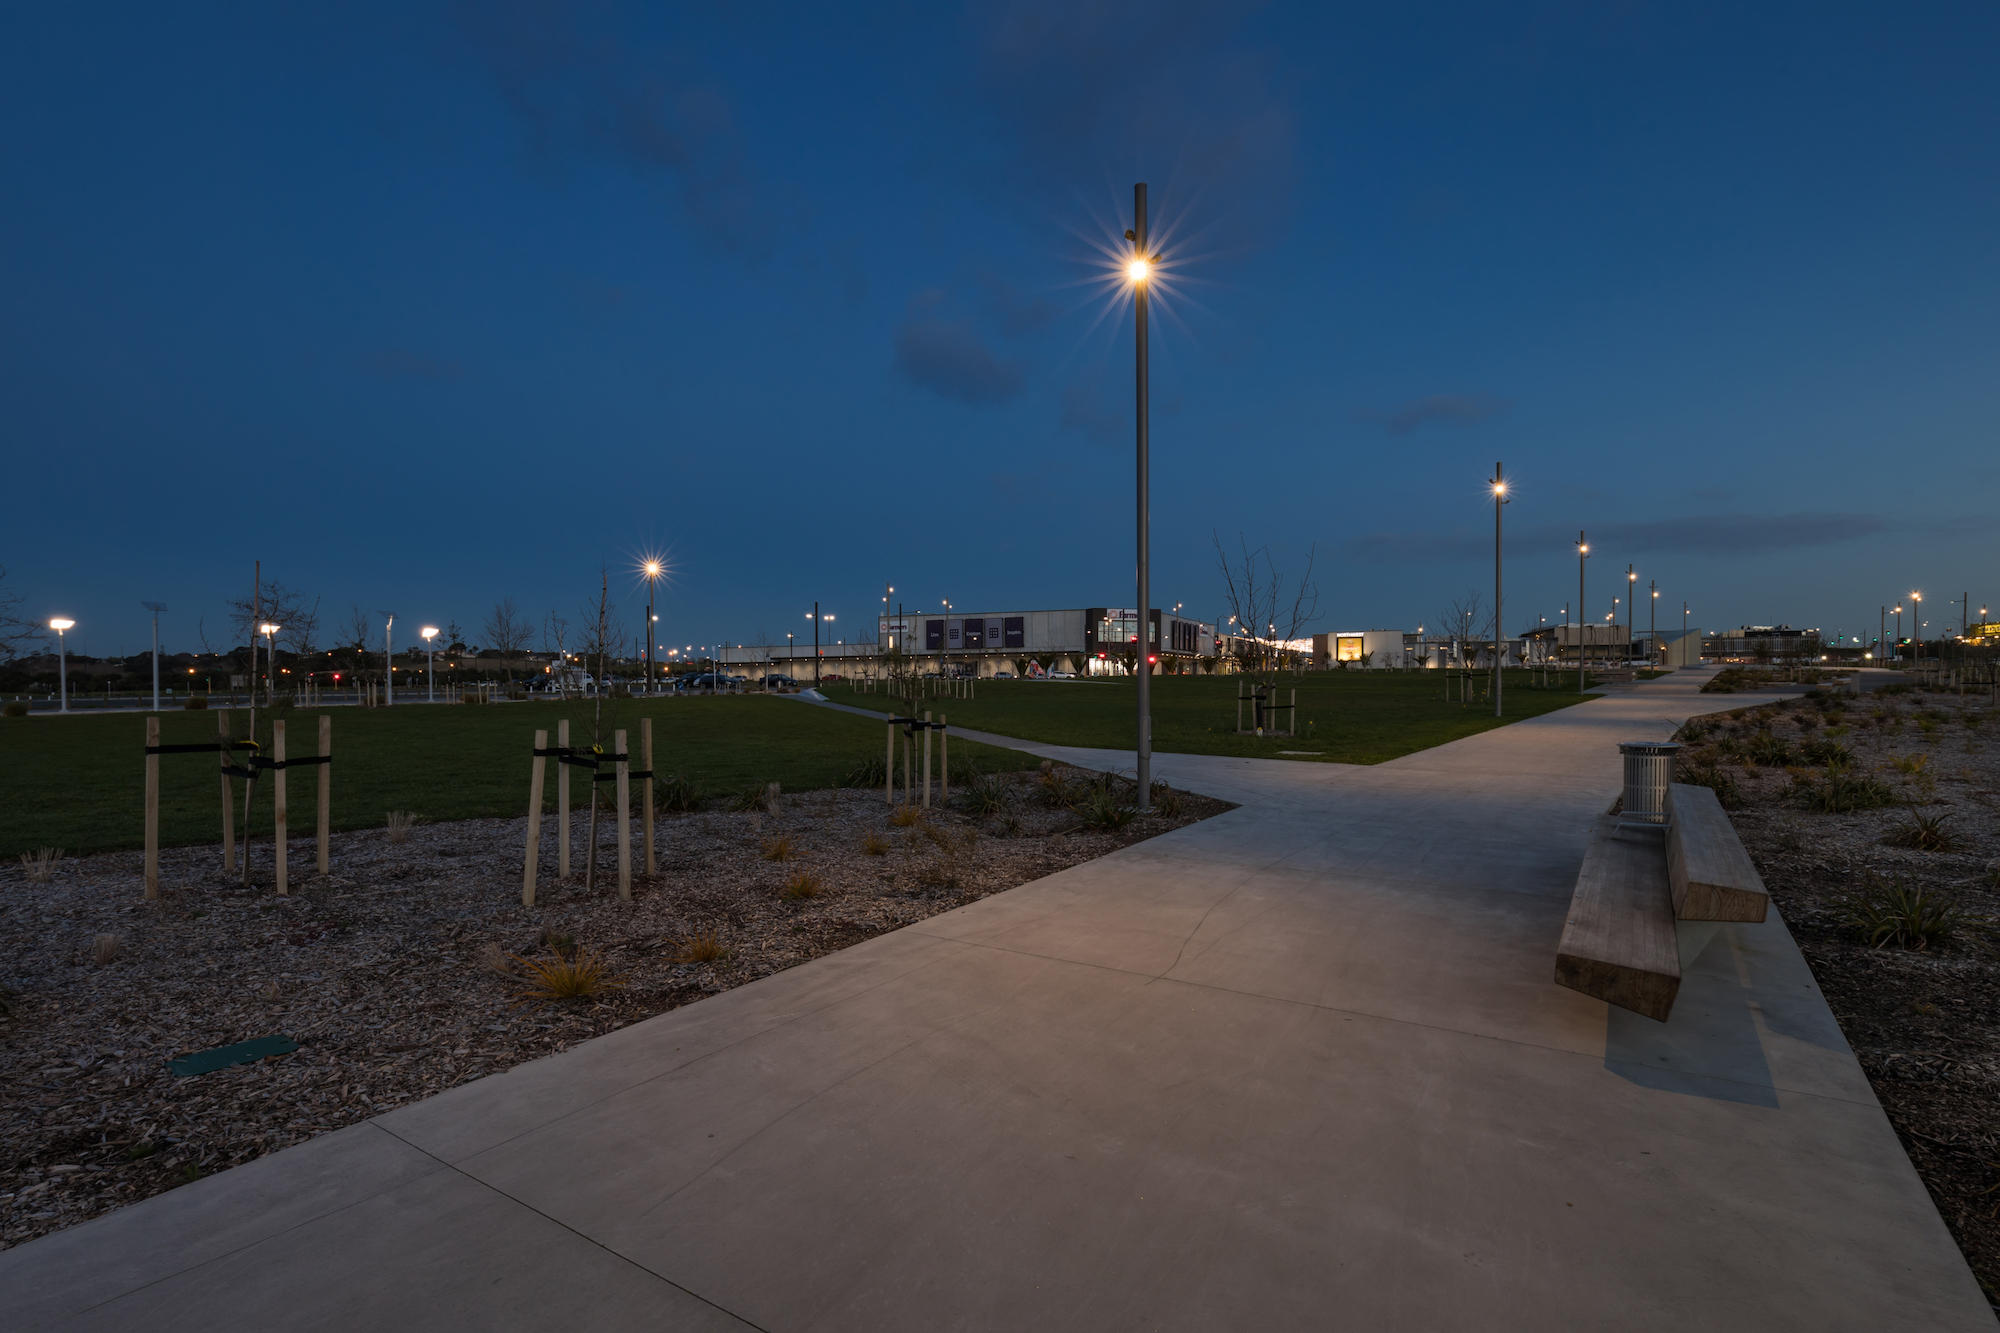
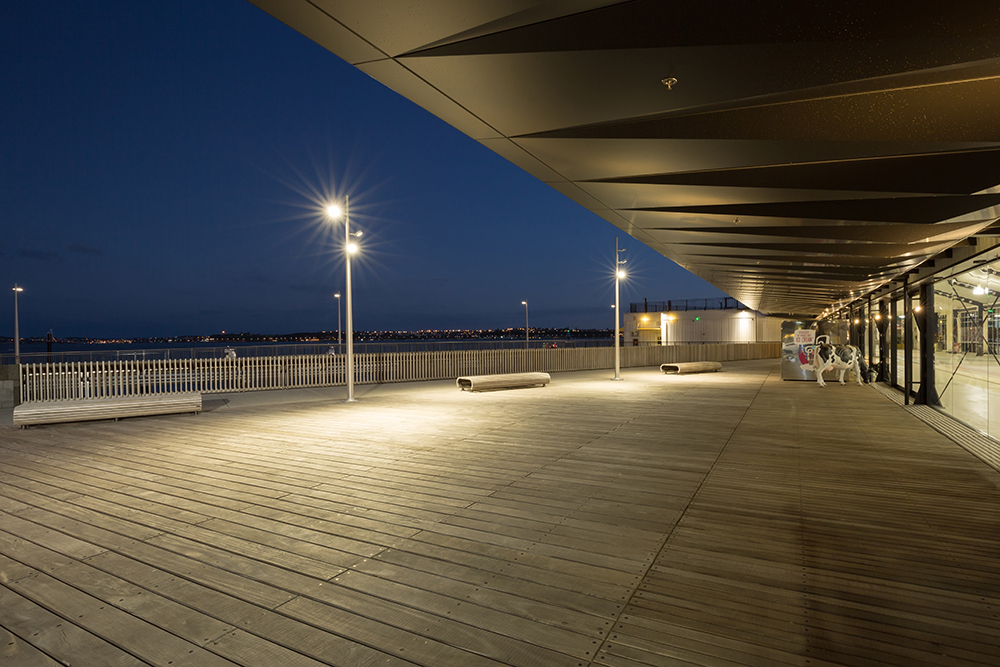
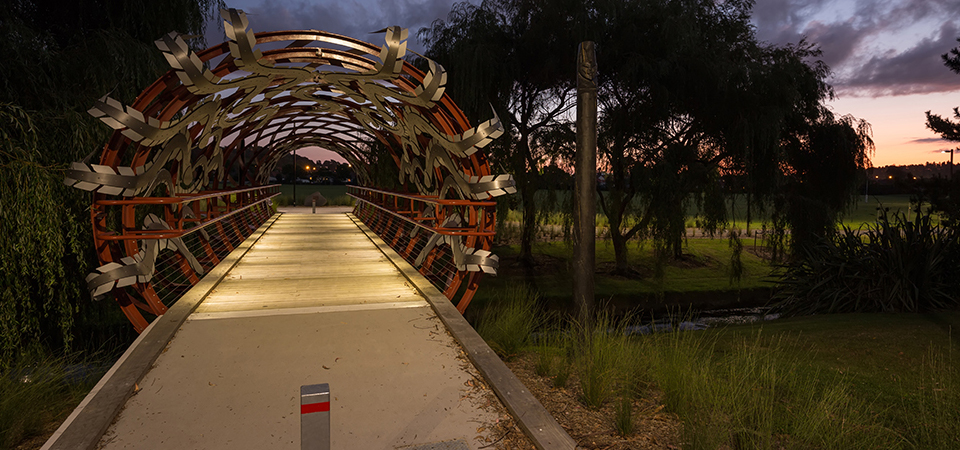
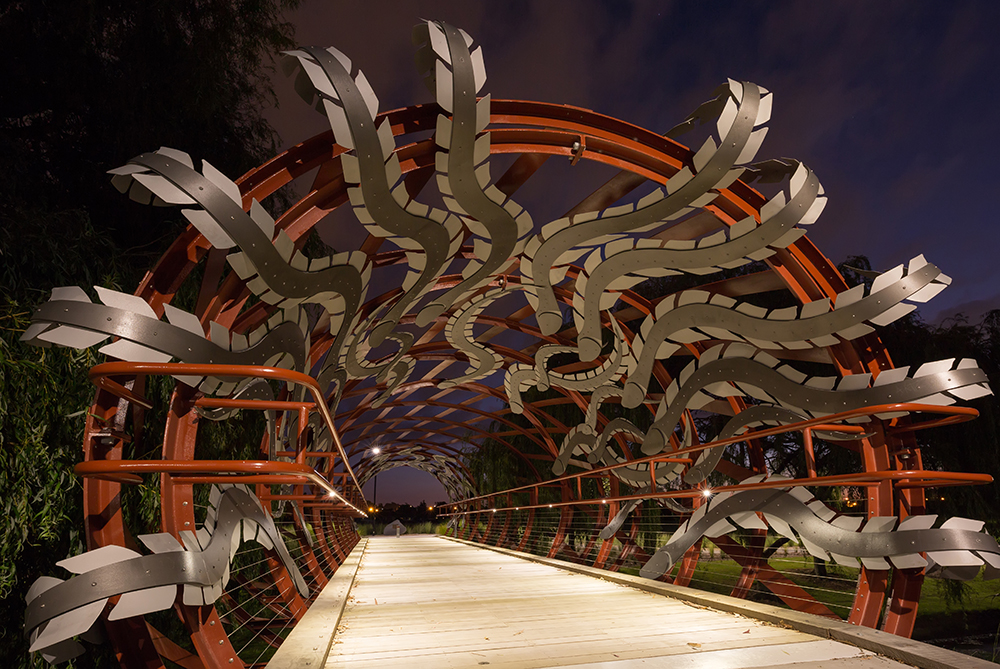
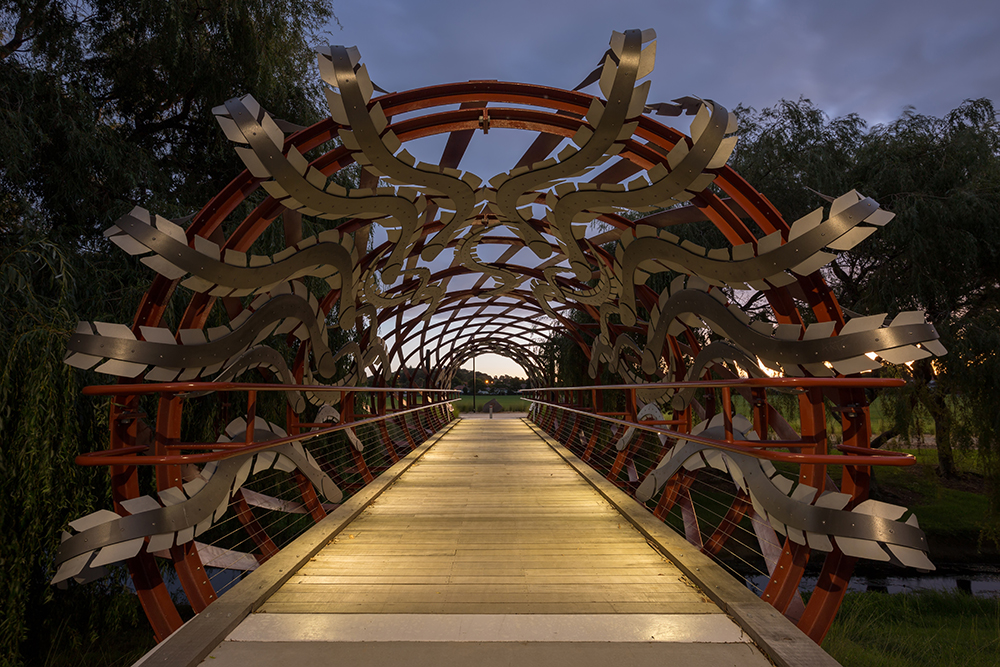
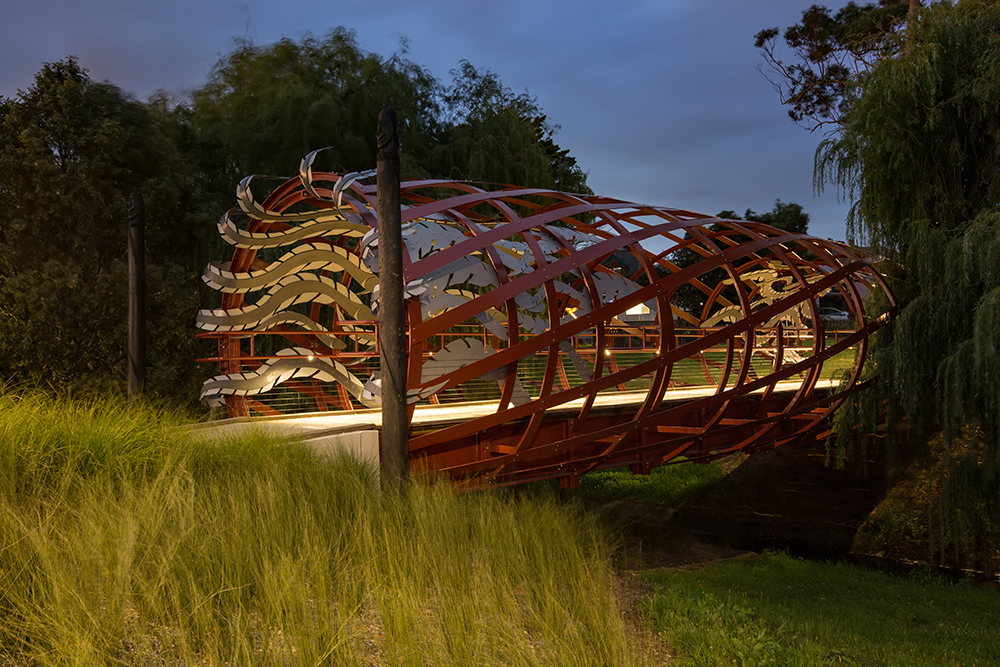
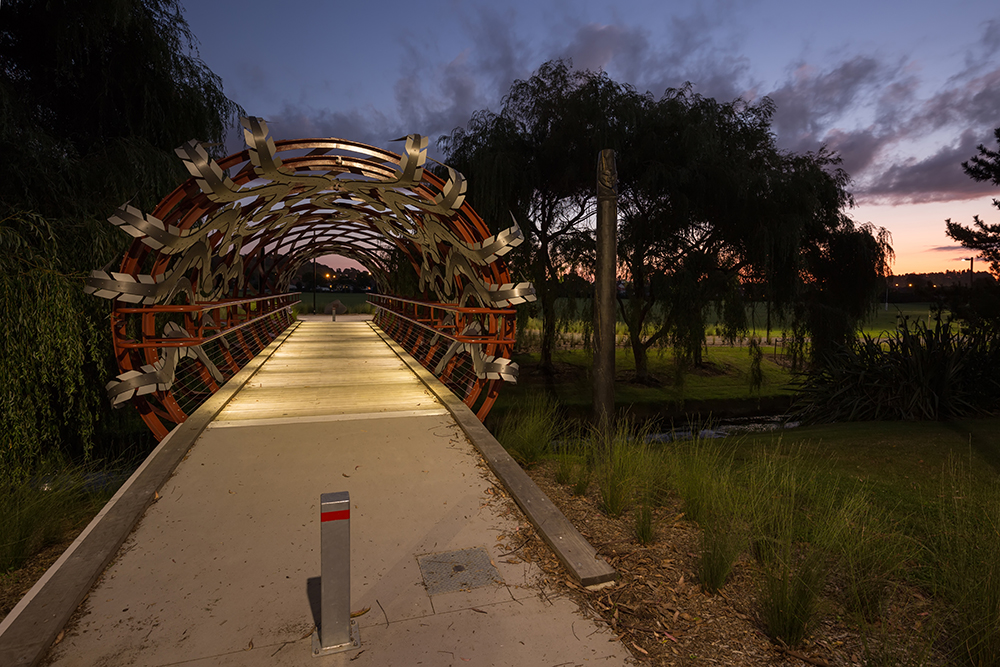
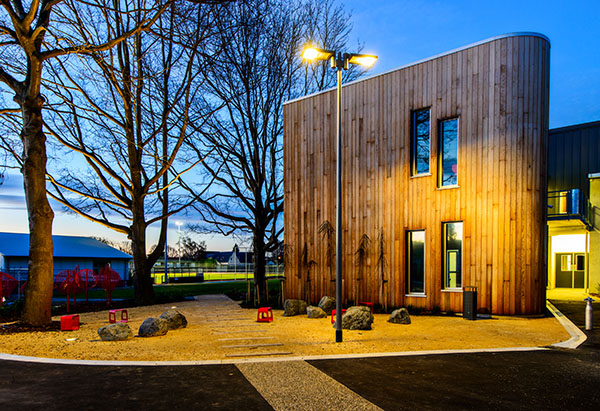
Barry Curtis Park
Product: Hydro poles with WE-EF VFL520, WE-EF QSI Bollards, WE-EF FLC Spotlights, Coolon Multo Strip Light, and WE-EF STG Wall Light
Designer: Isthmus Architects
View More Close
Close

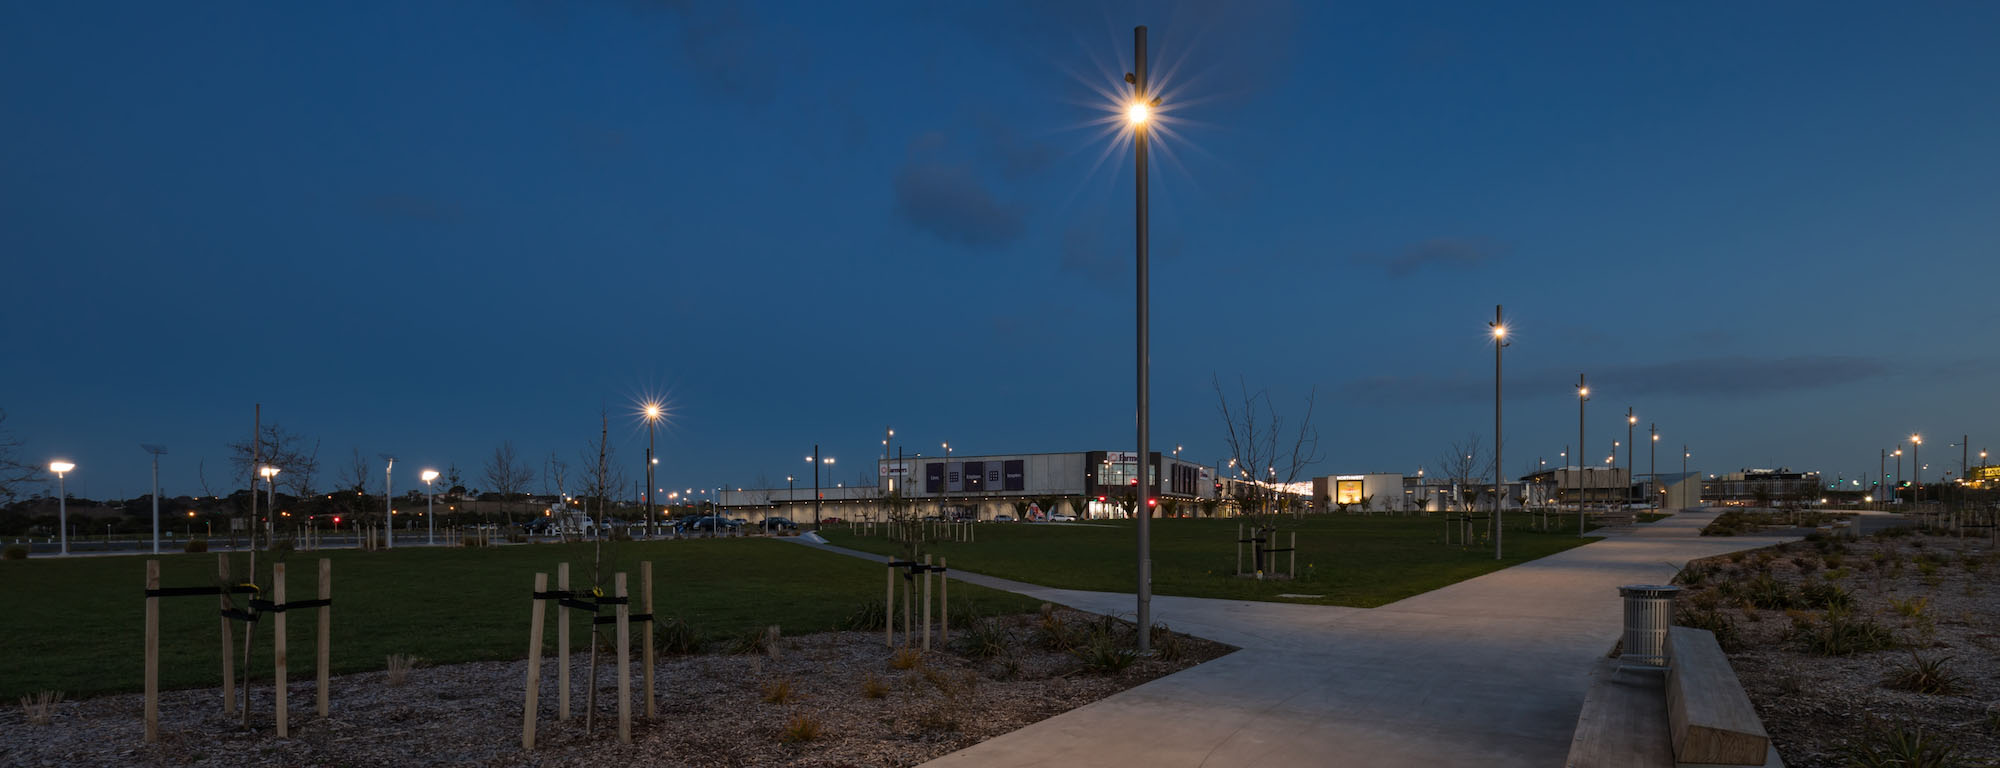

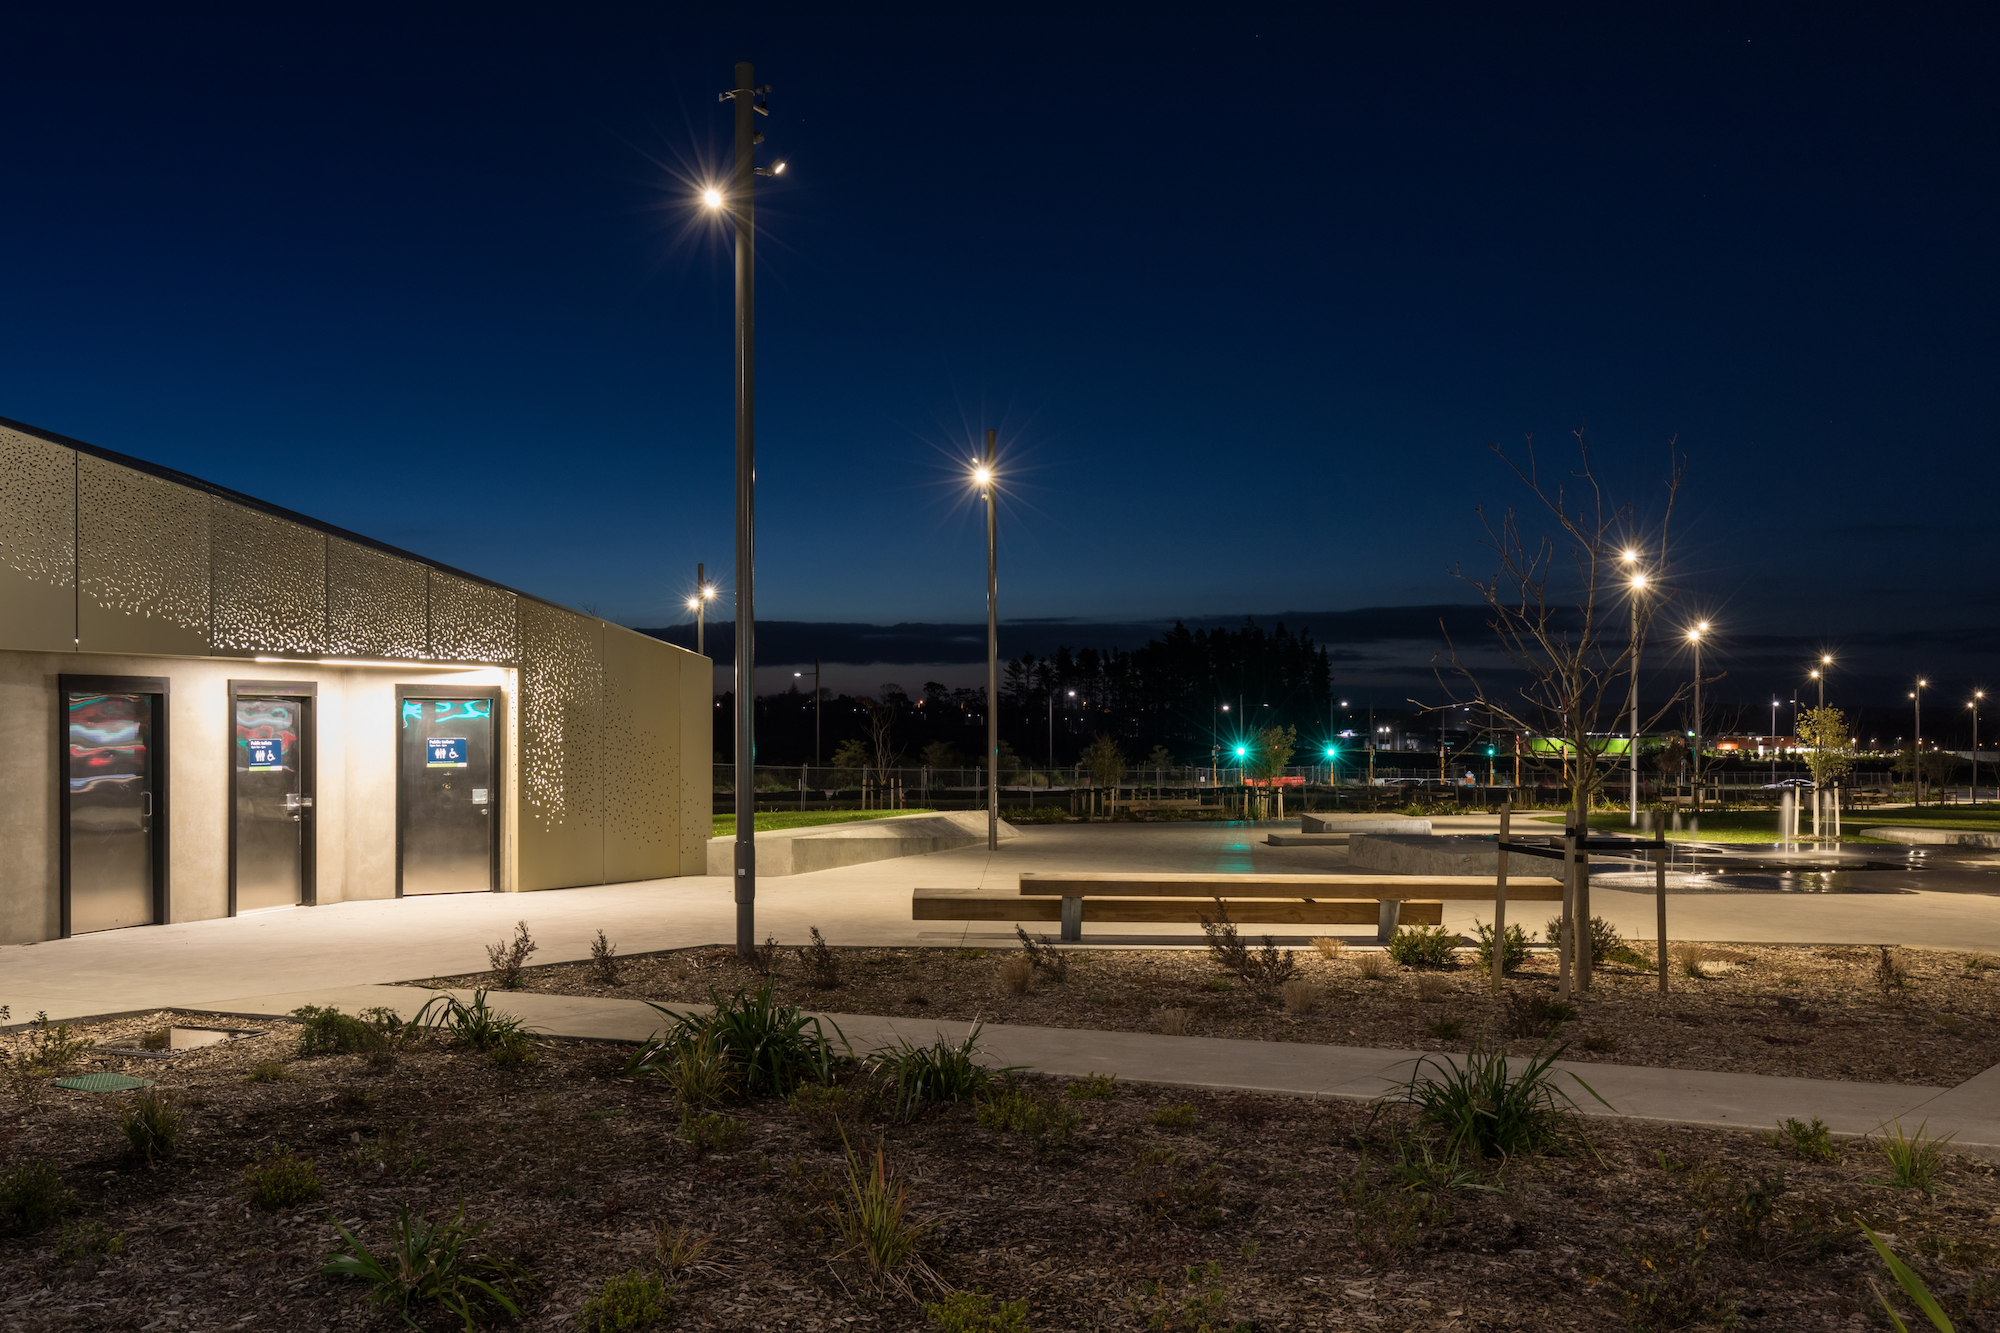
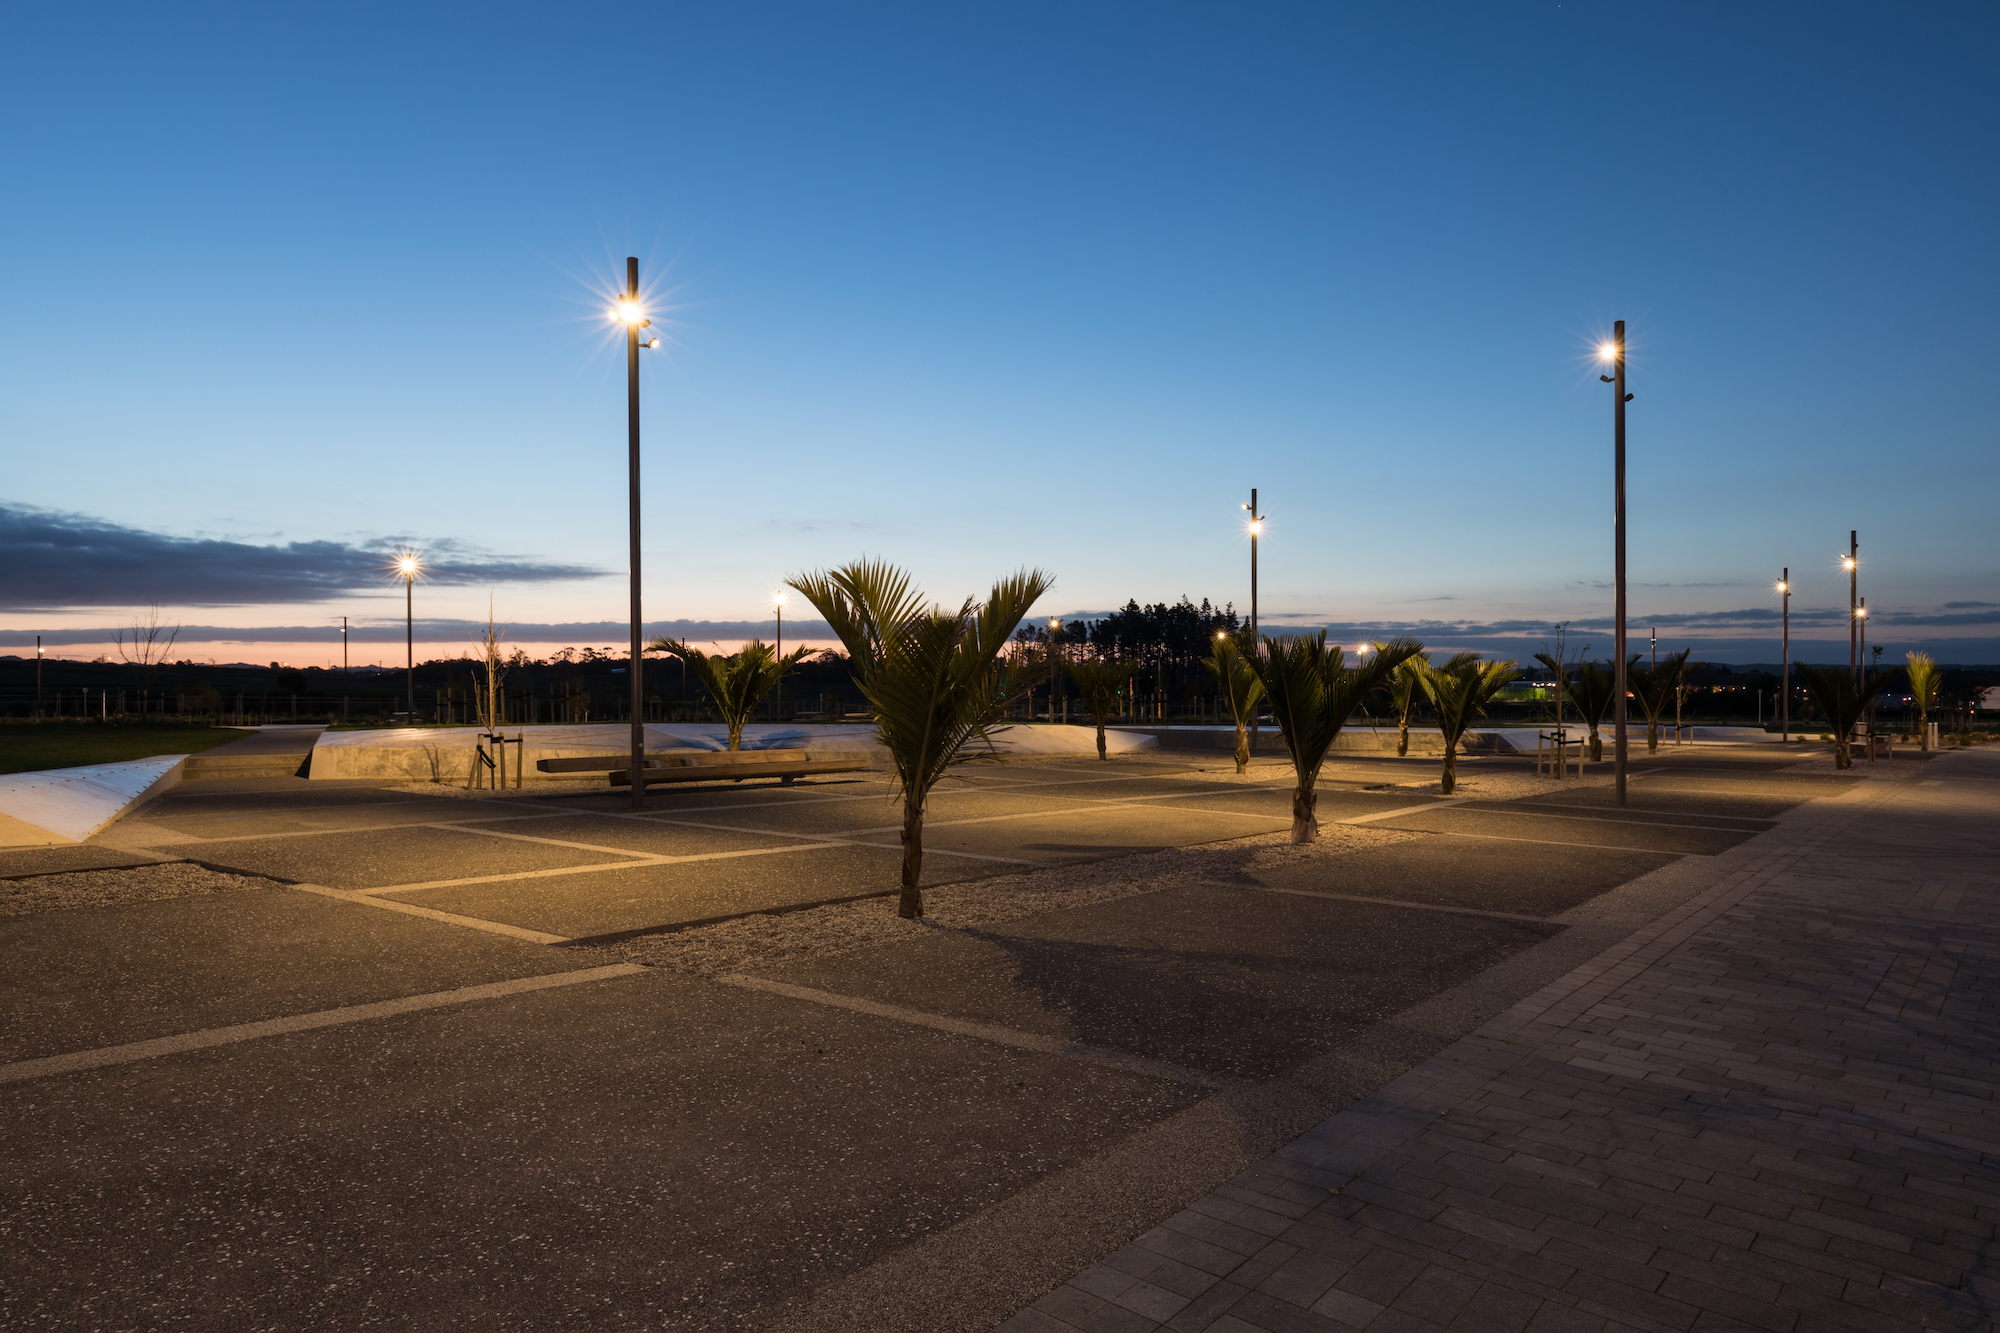
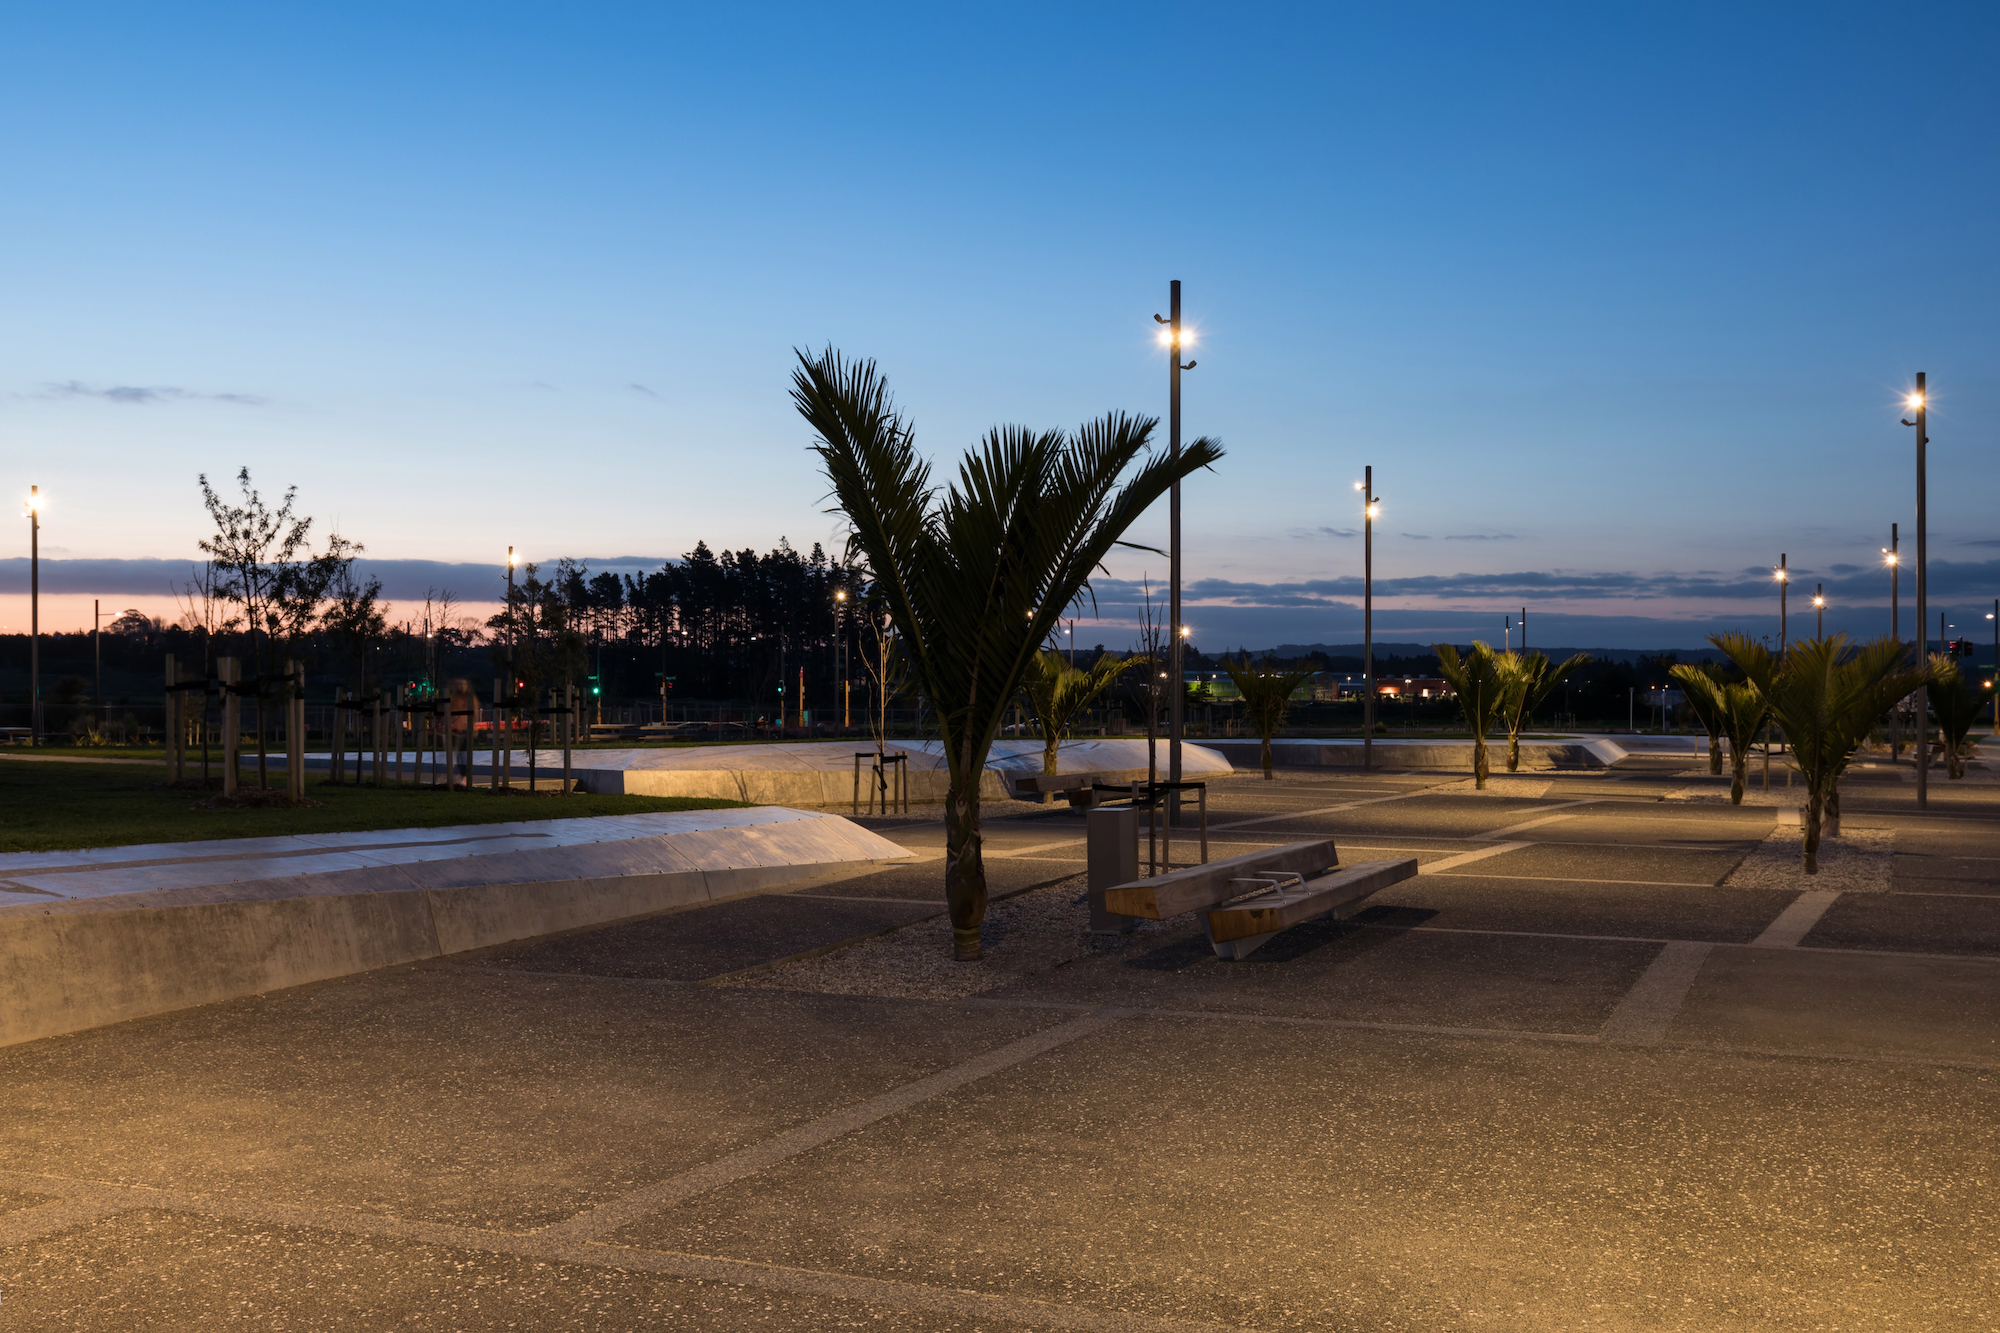
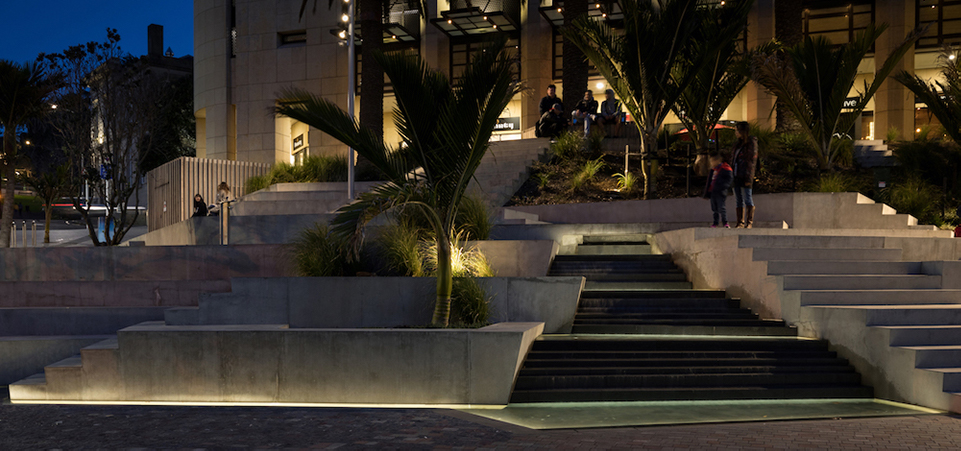
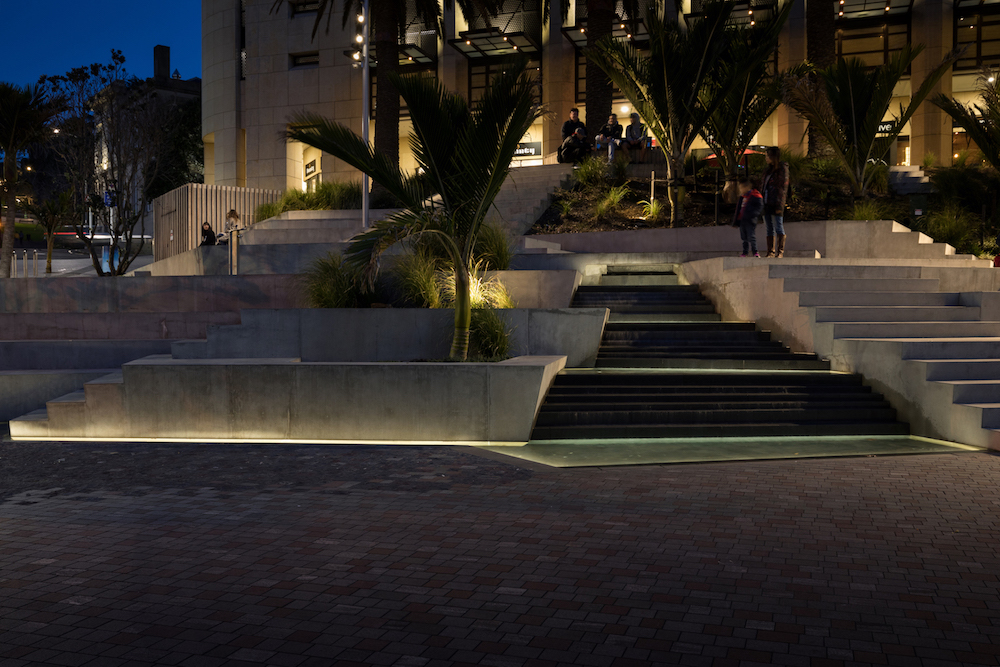
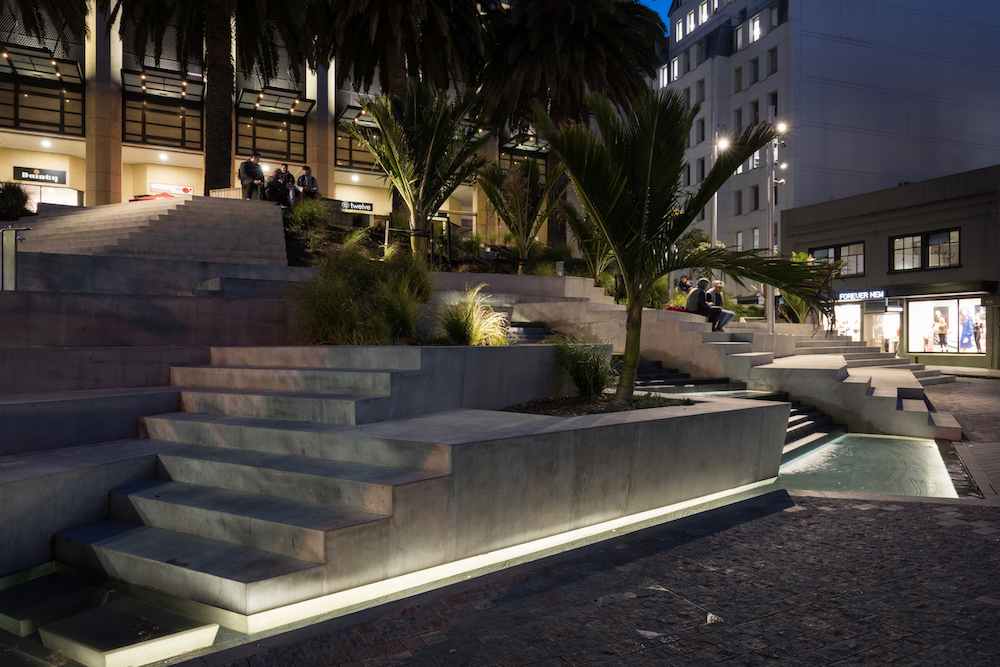
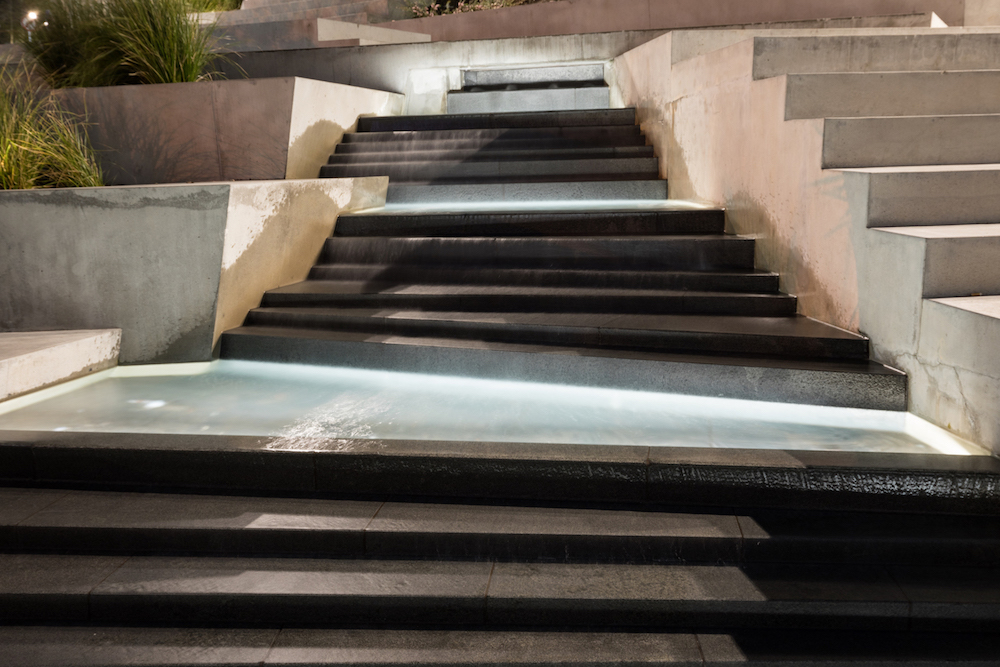
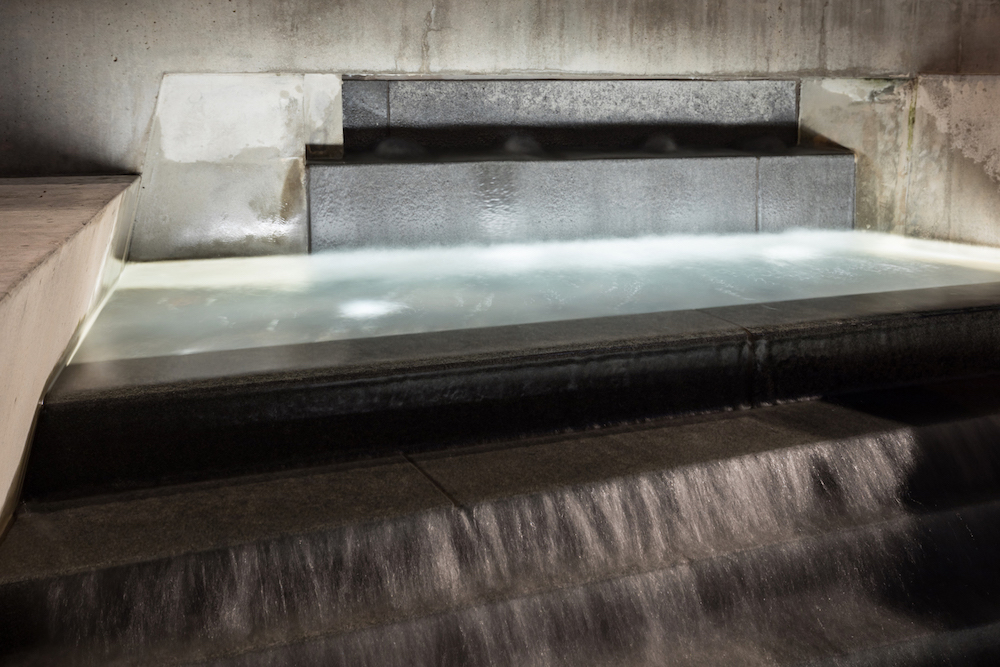
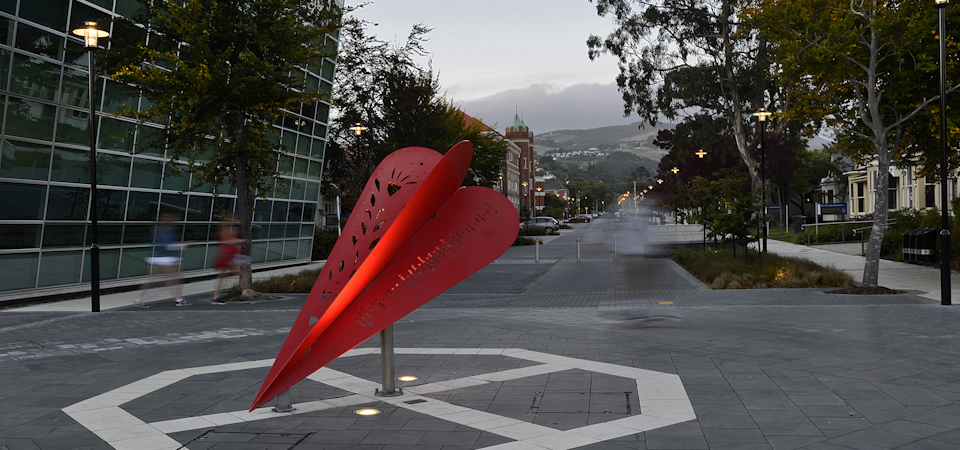
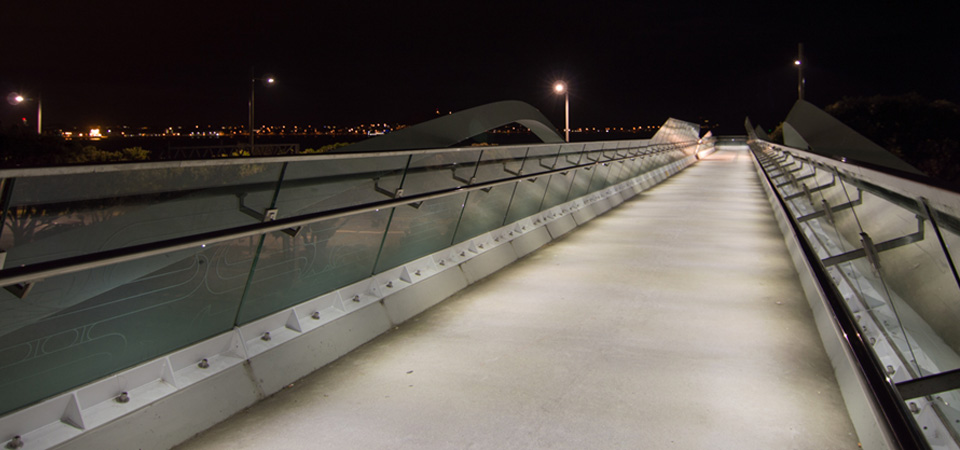
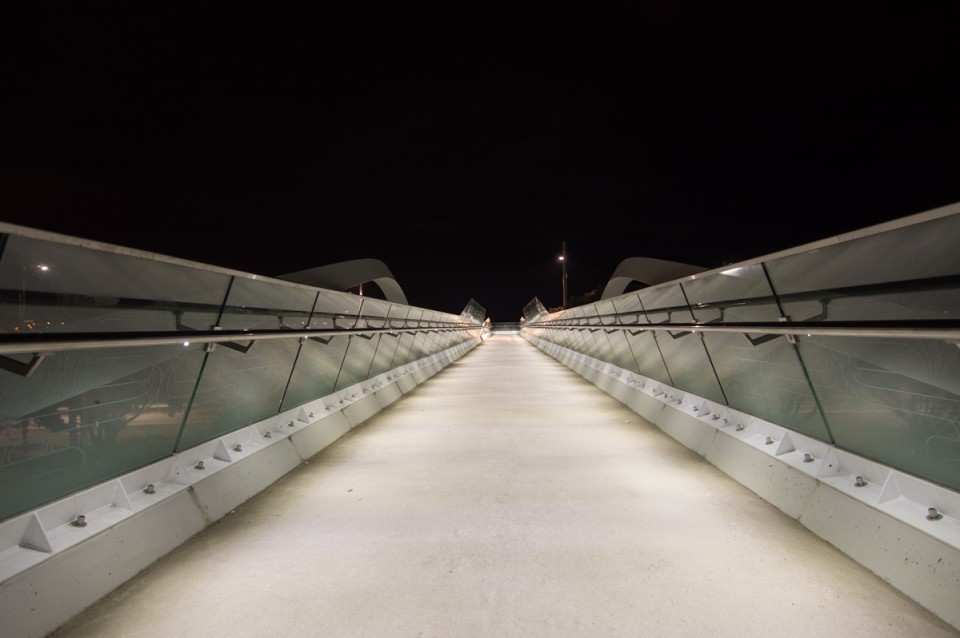
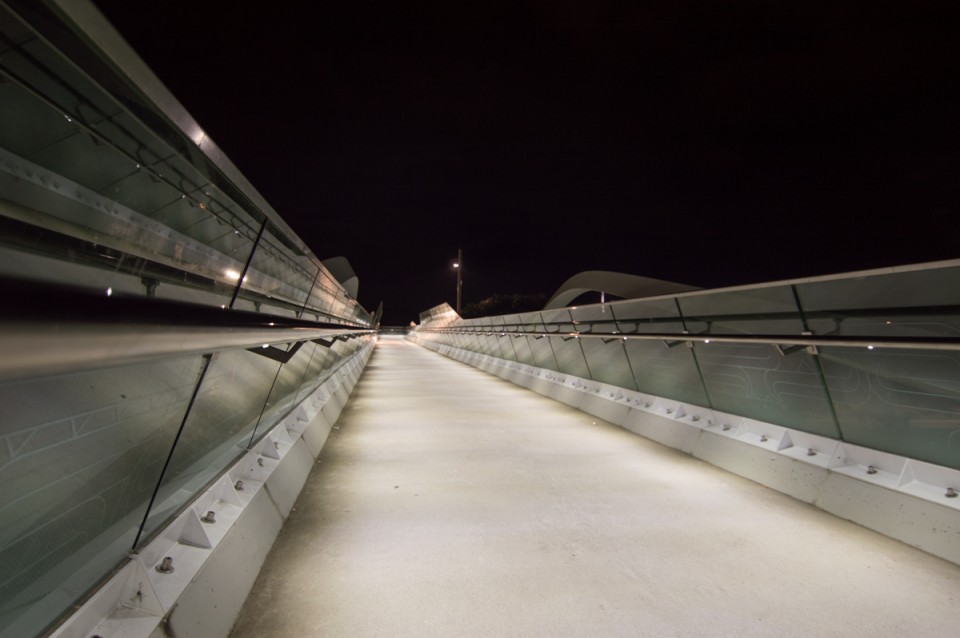
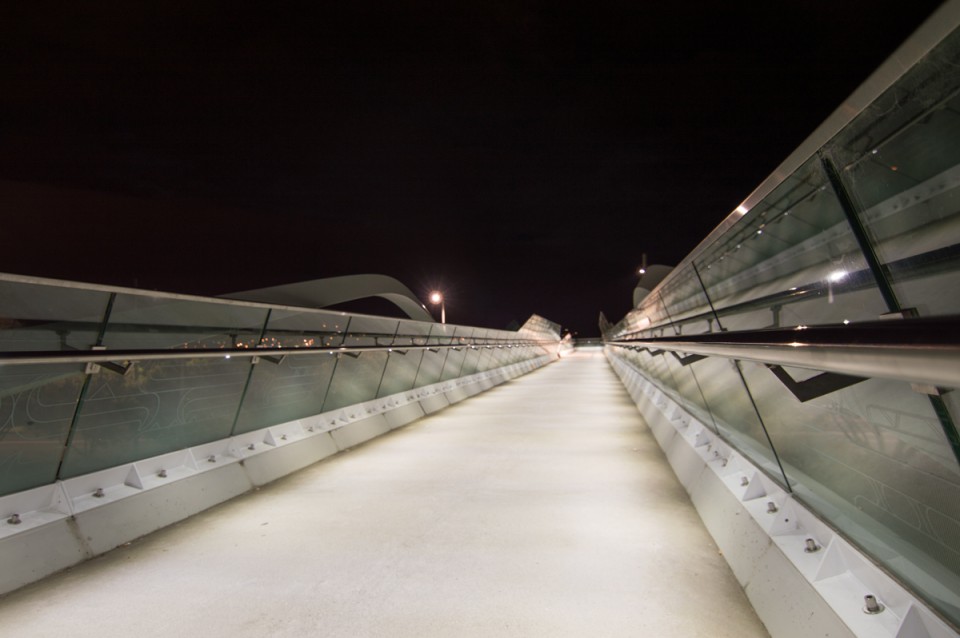
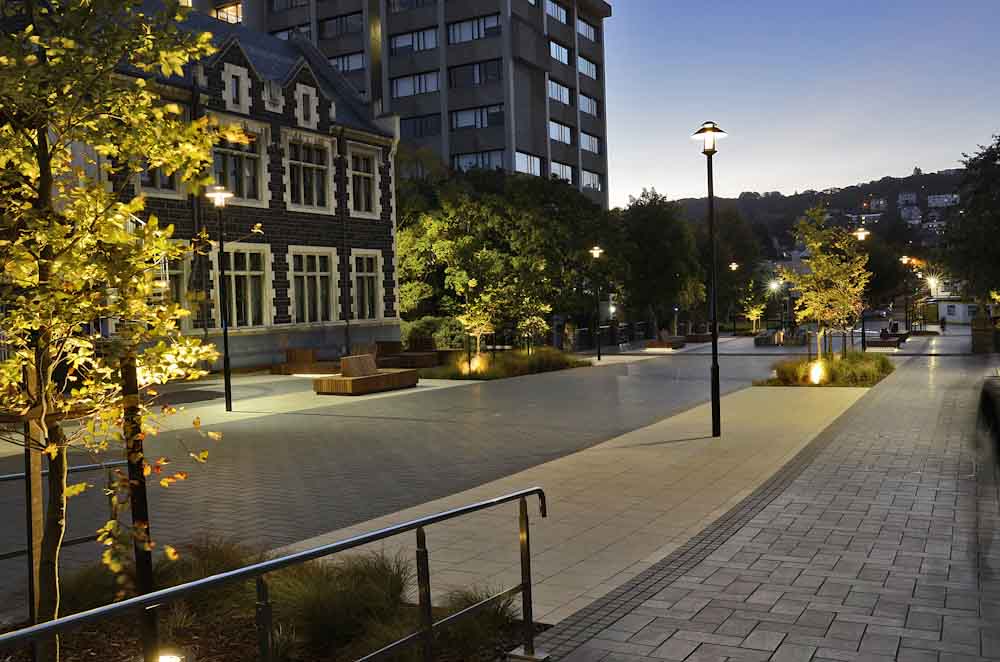
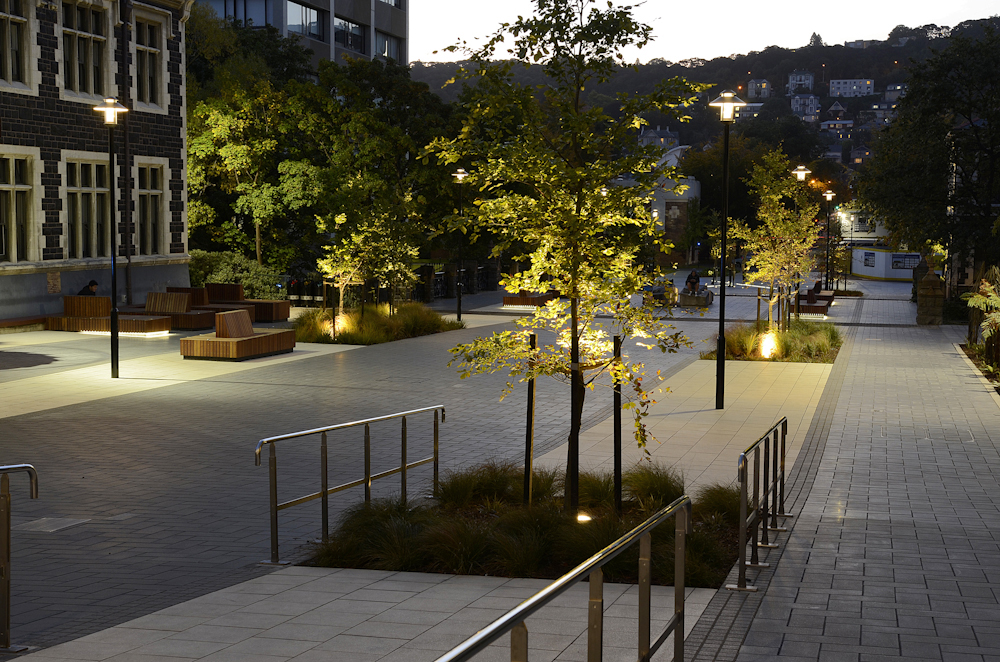
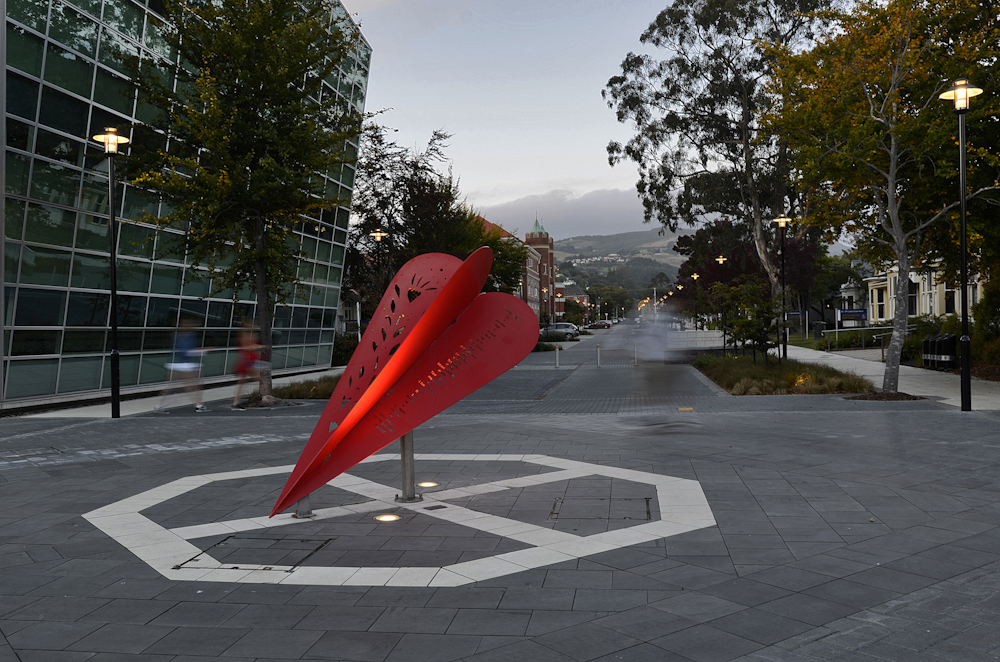
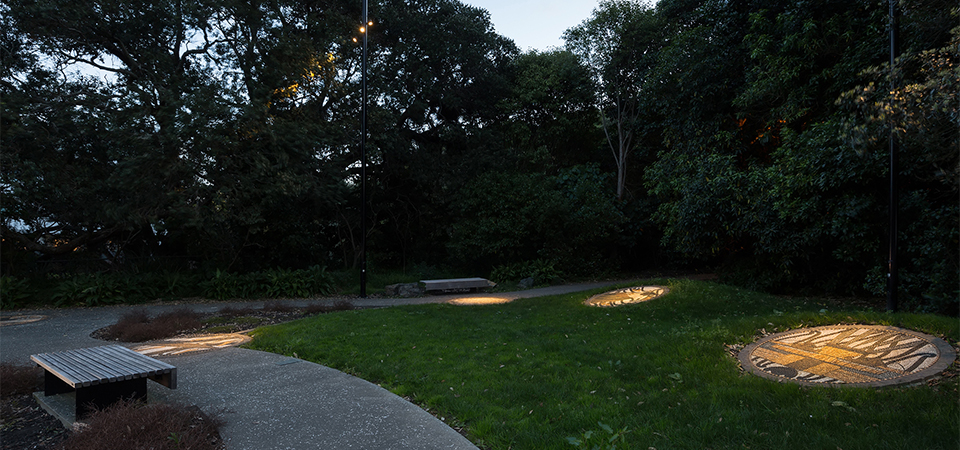
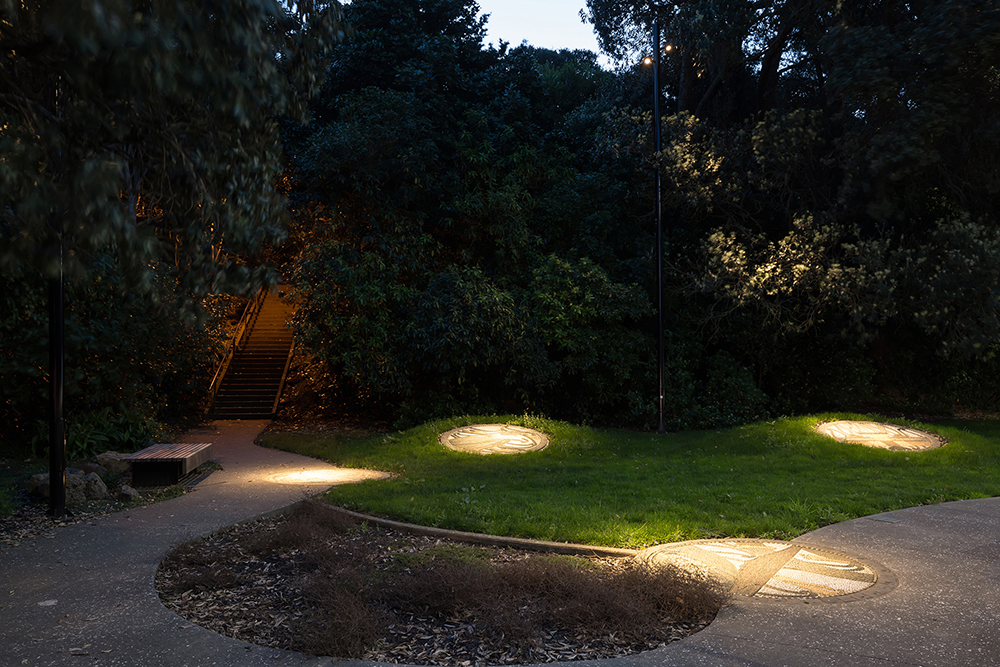
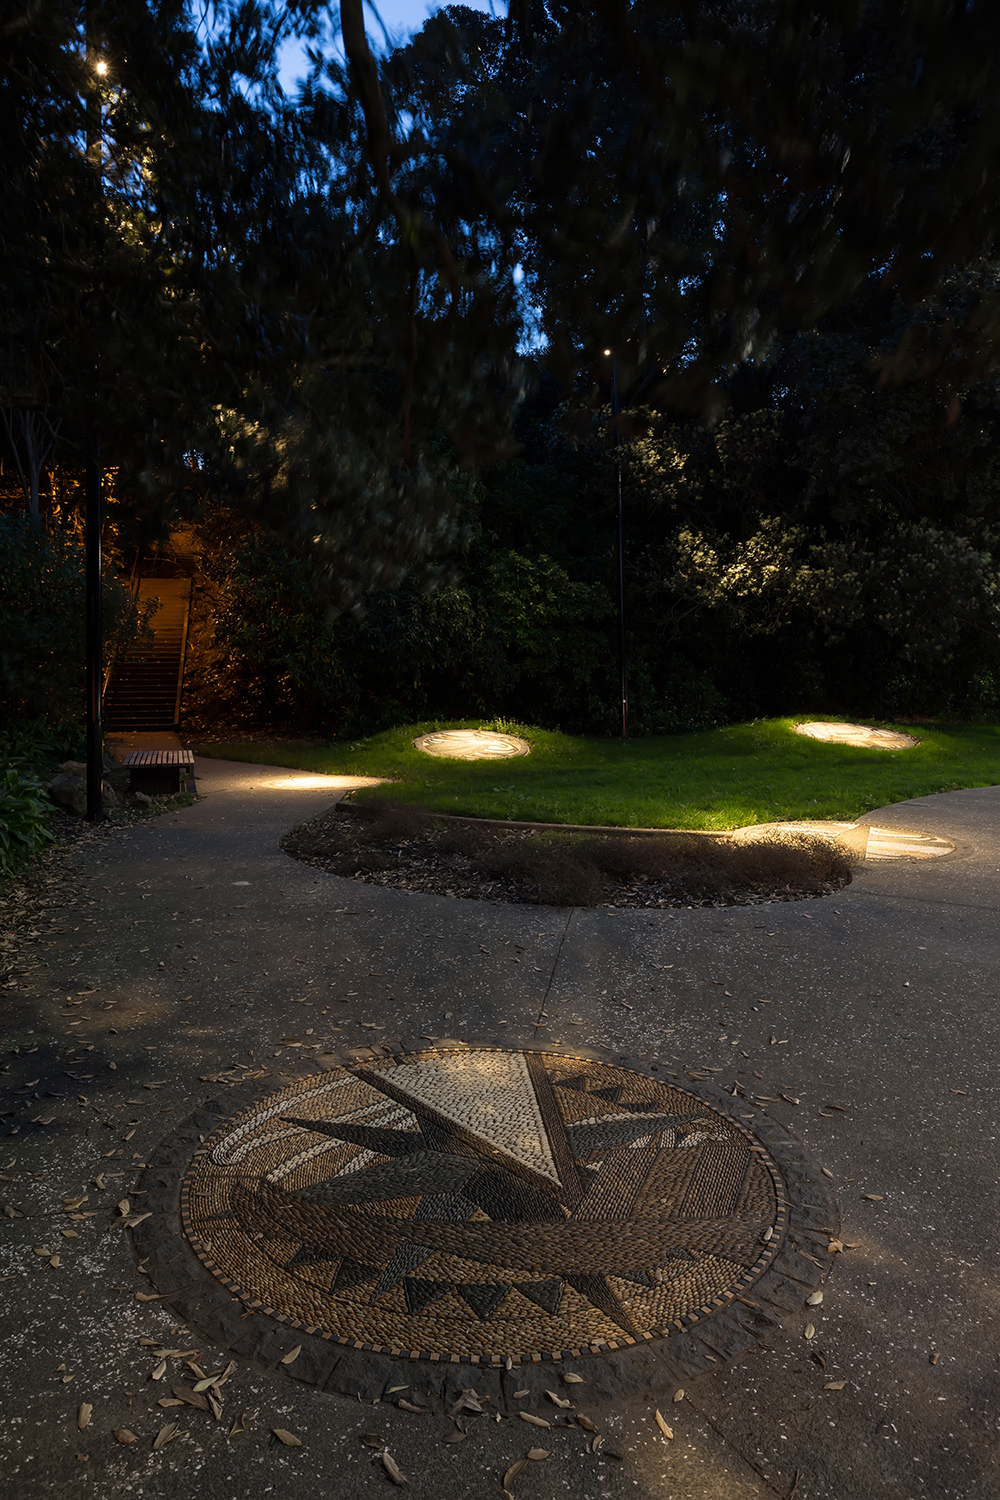
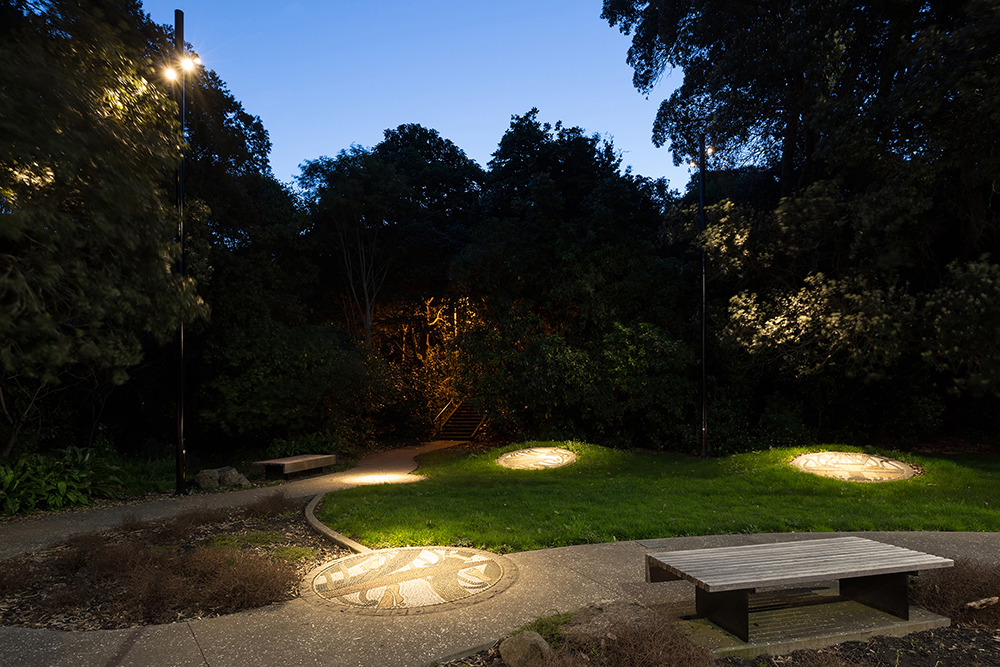
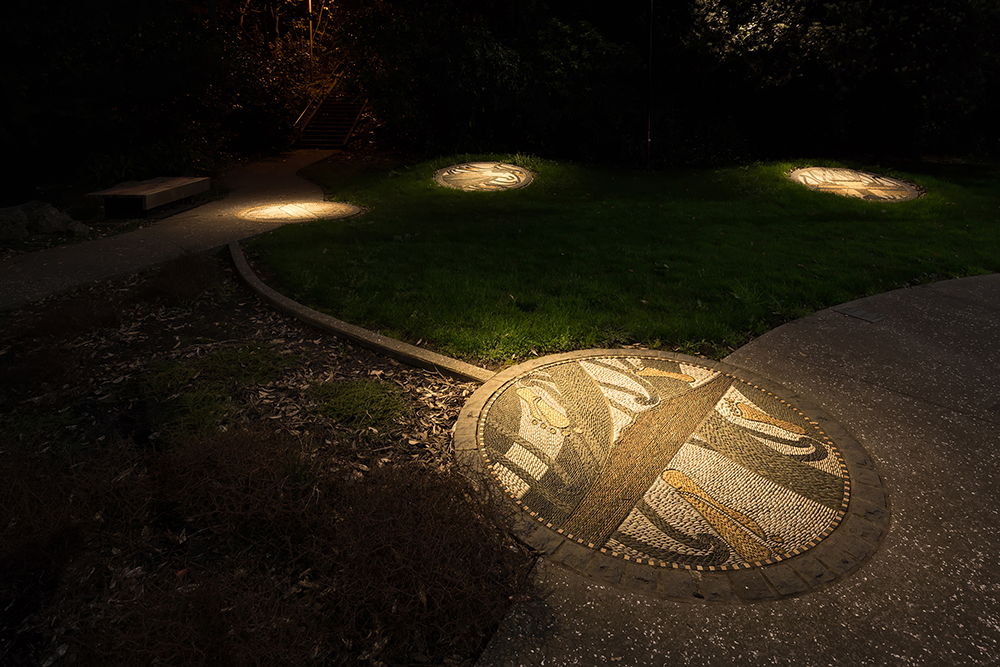
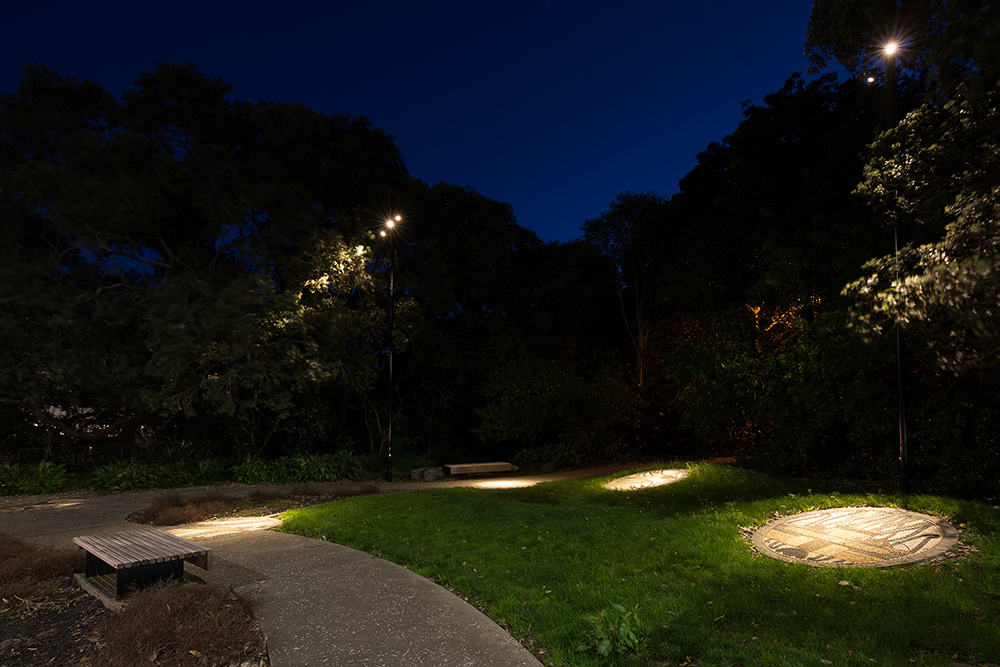
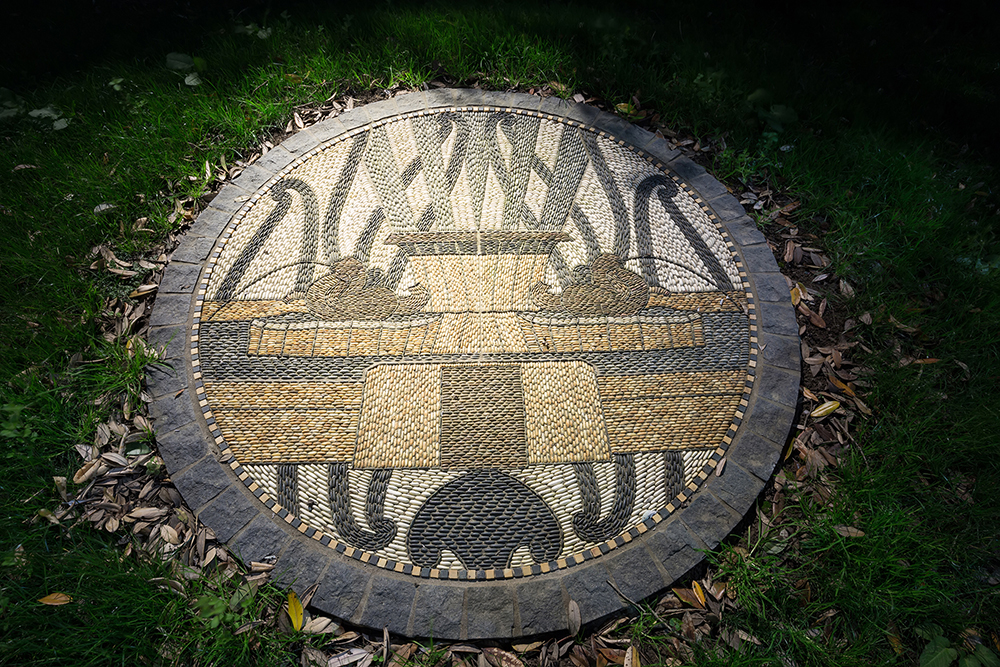
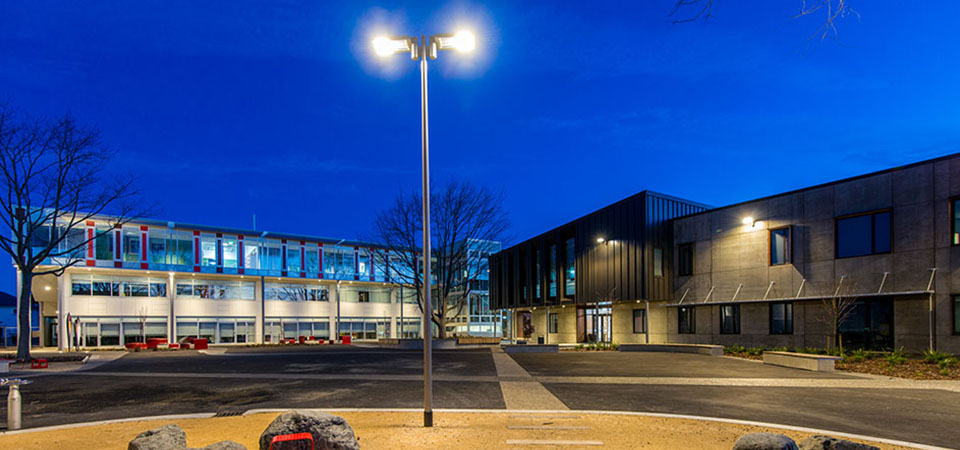
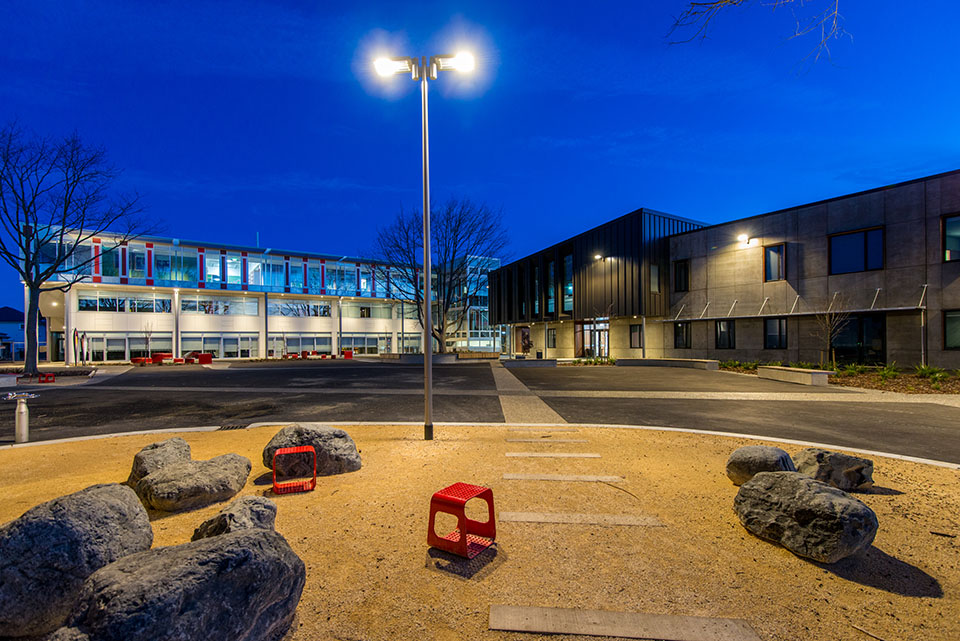
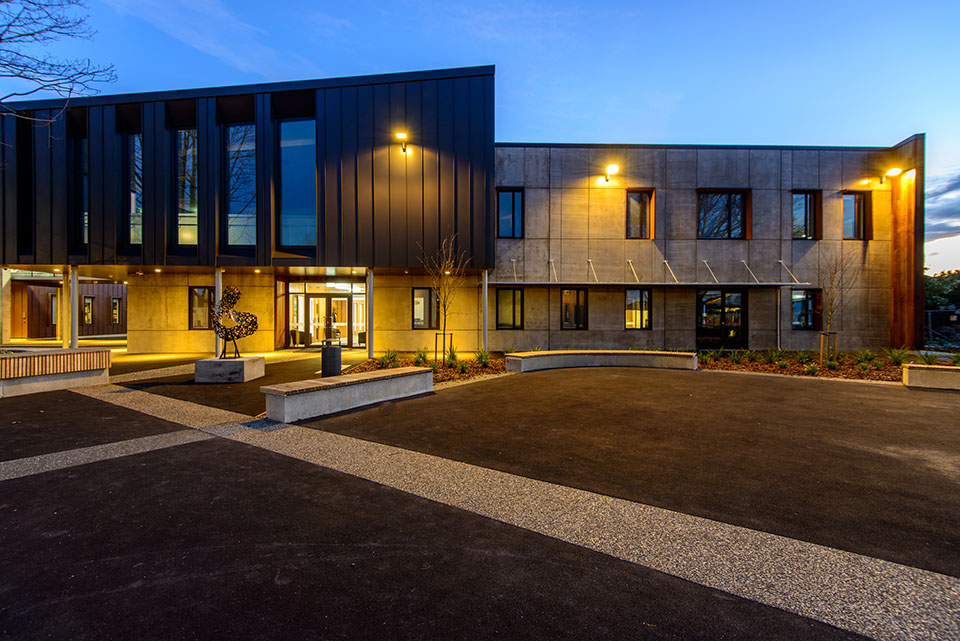
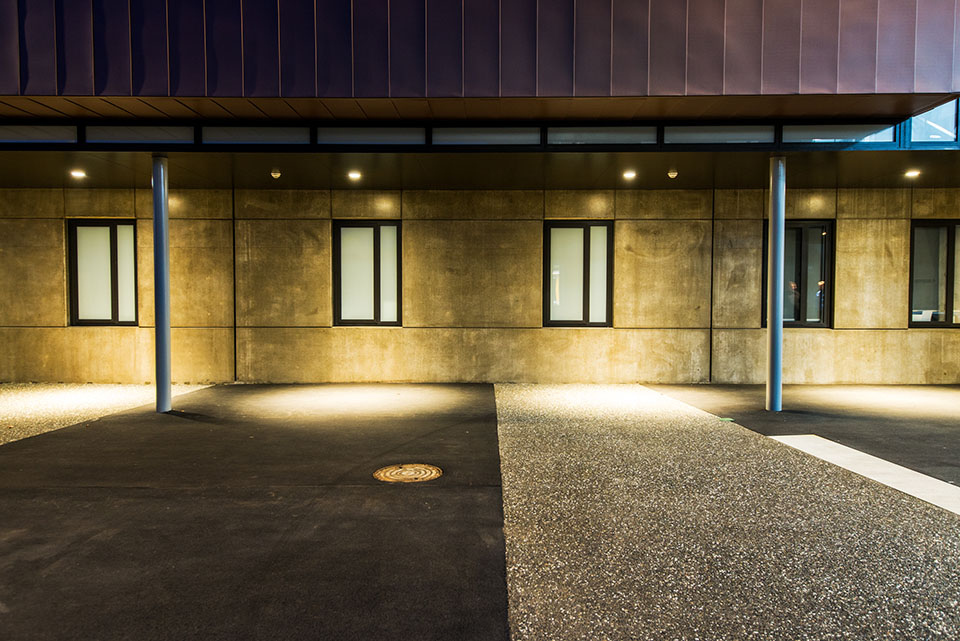
University of Otago Campus – Dunedin
Product: WE-EF ZA640 LED
Designer: DCM Urban Design Limited & Photographer Michael McQueen
View MoreClose

 Close
Close
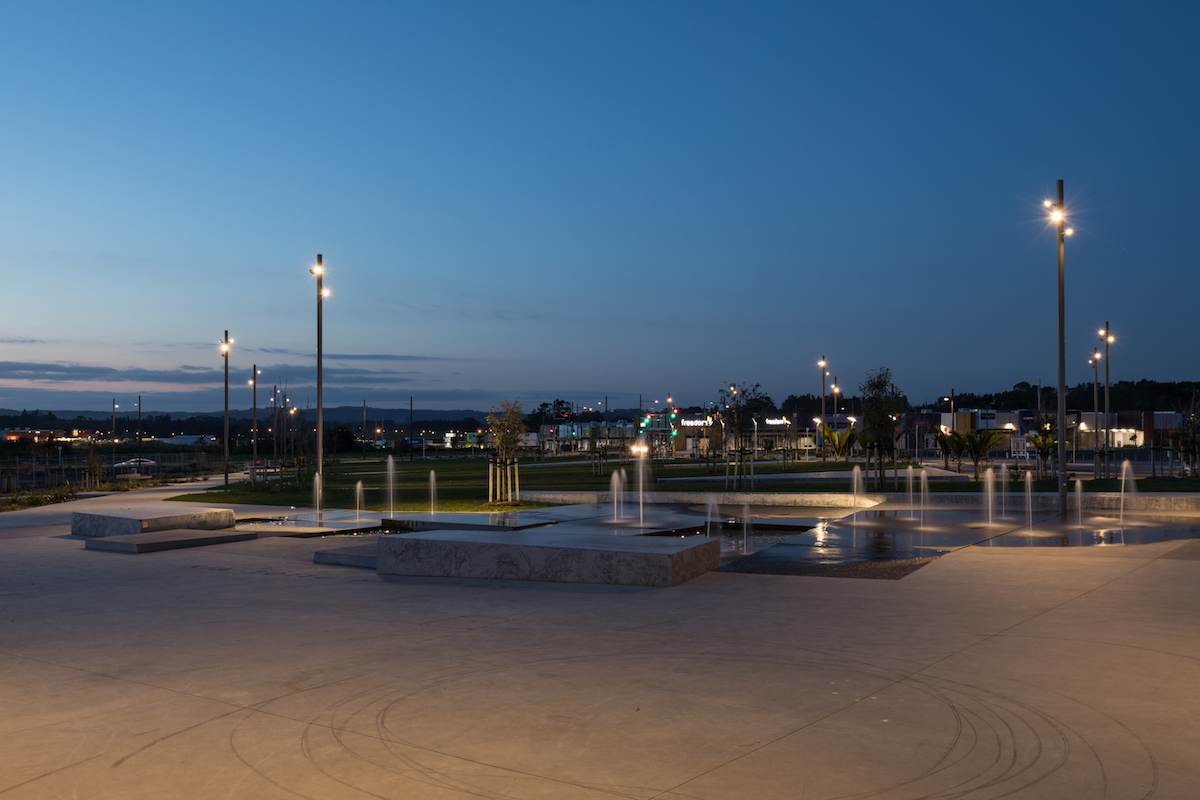
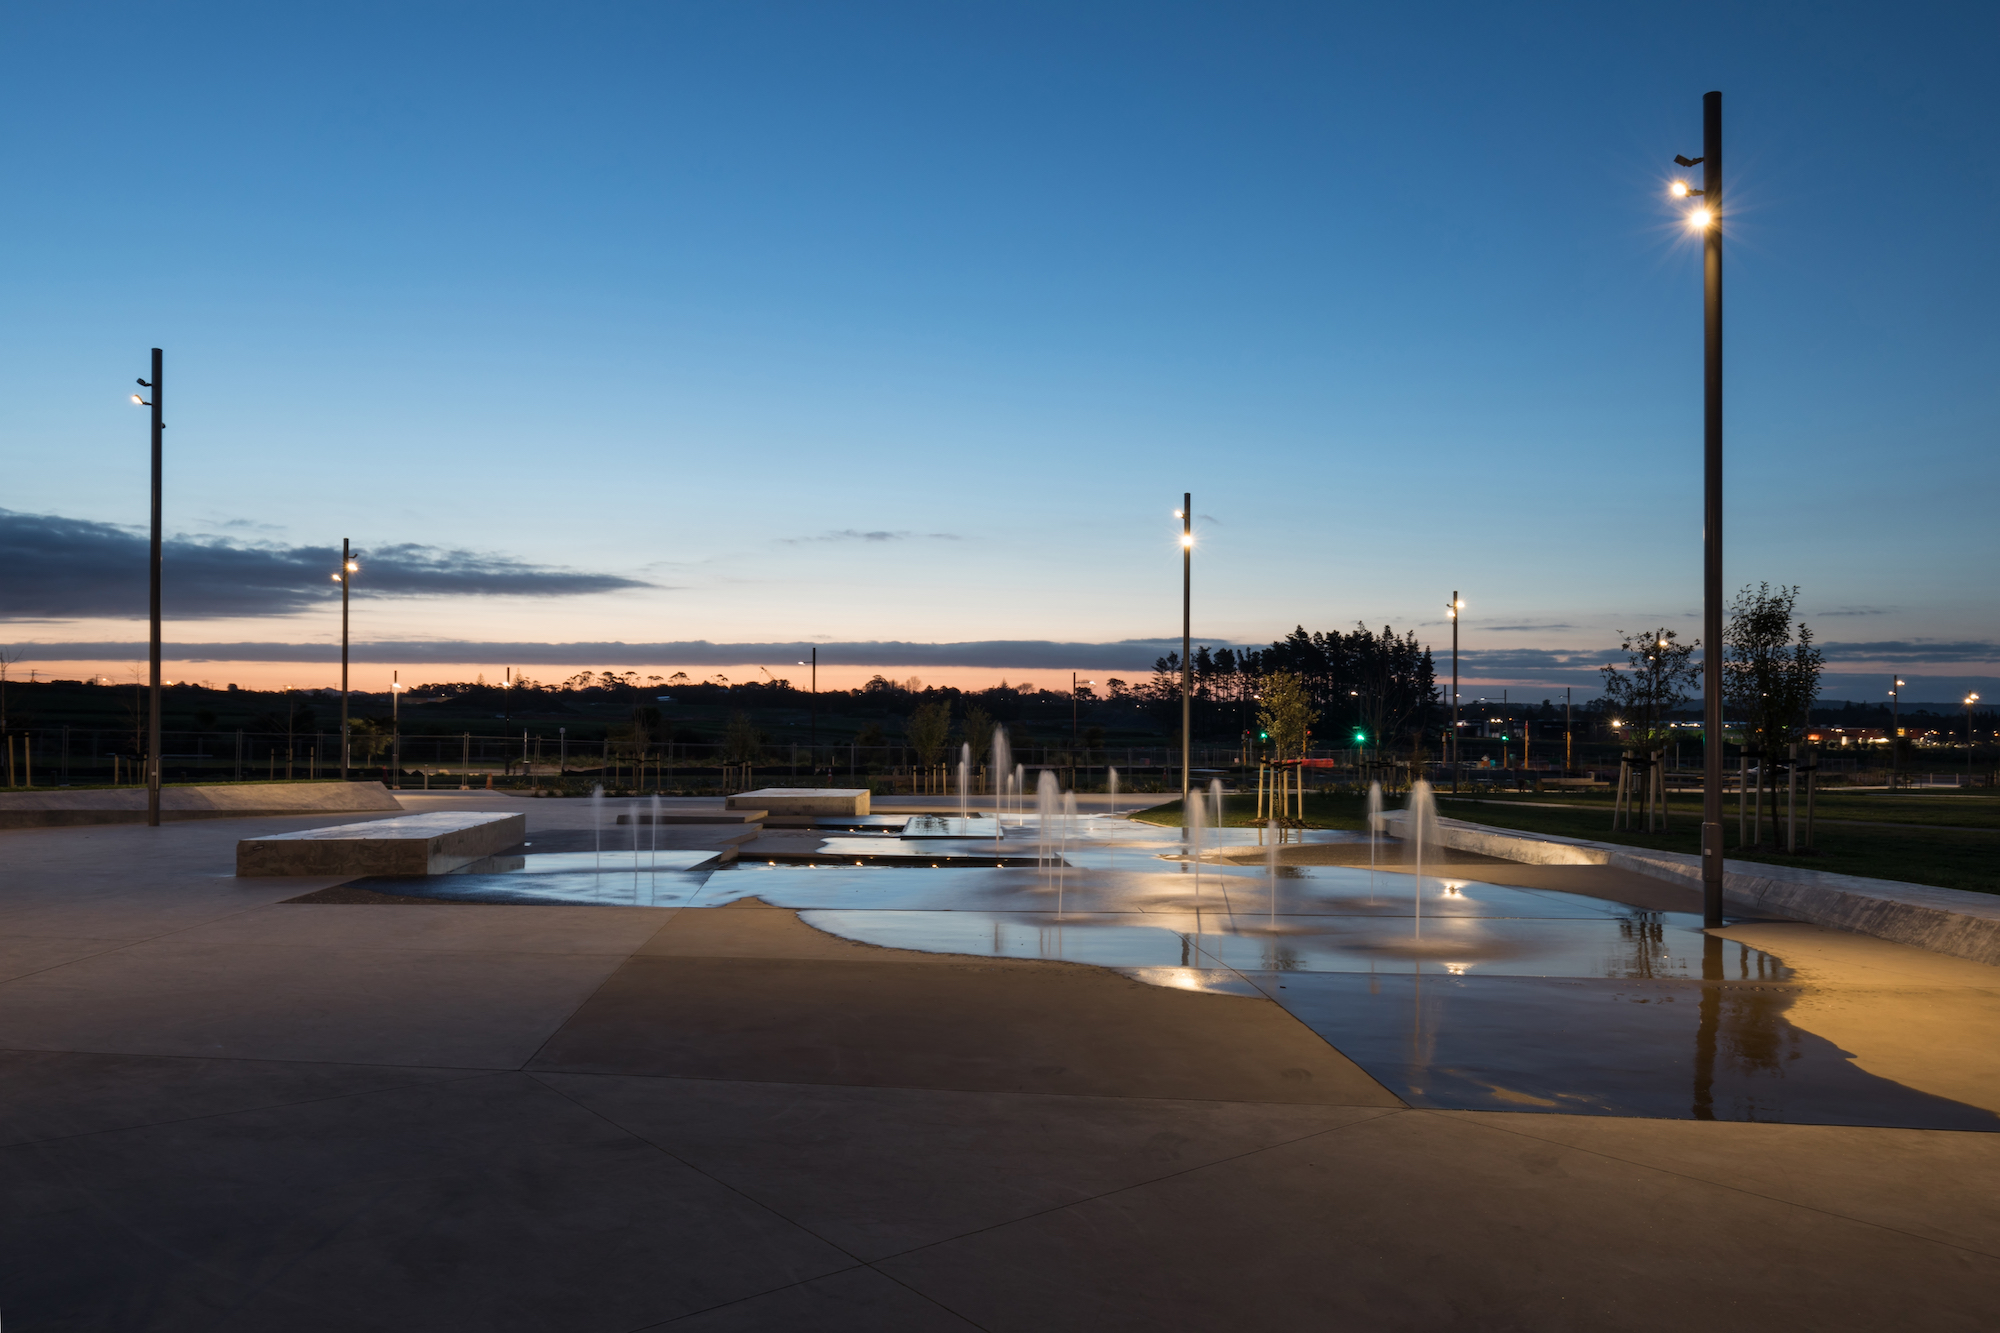
St Margarets – Christchurch
Product: Sapa Poles , We-ef VFL, We-ef DOC downlights
Designer: Cosgrove's
View MoreClose


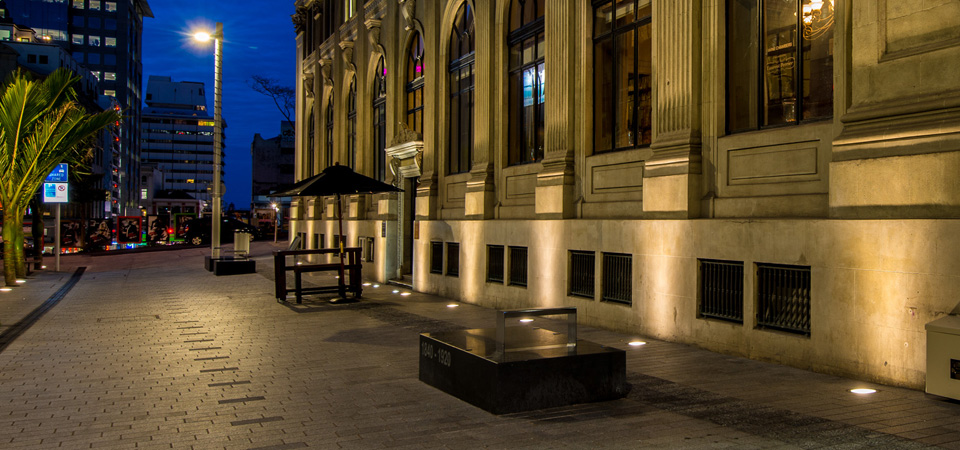
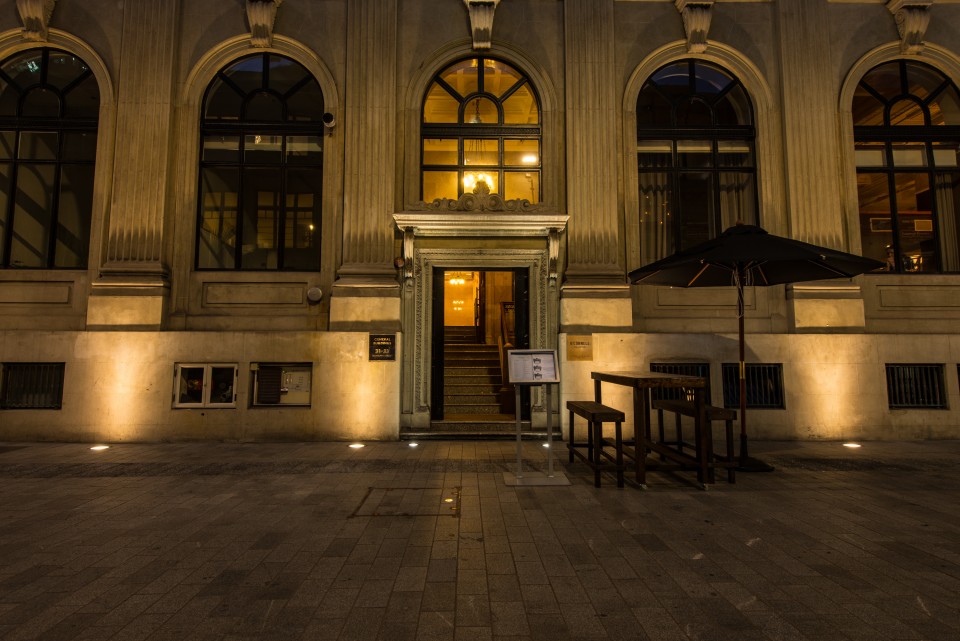
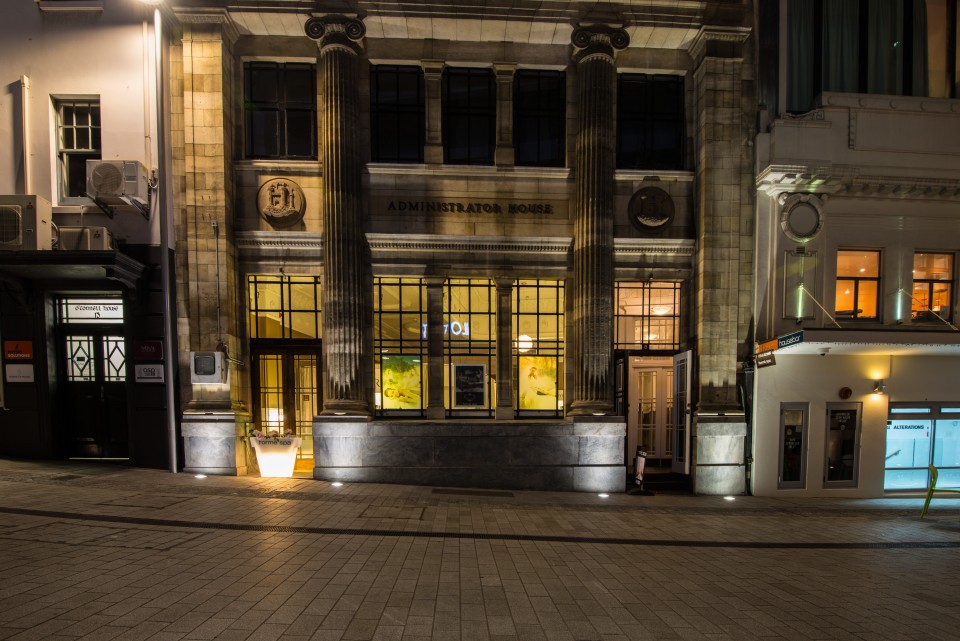
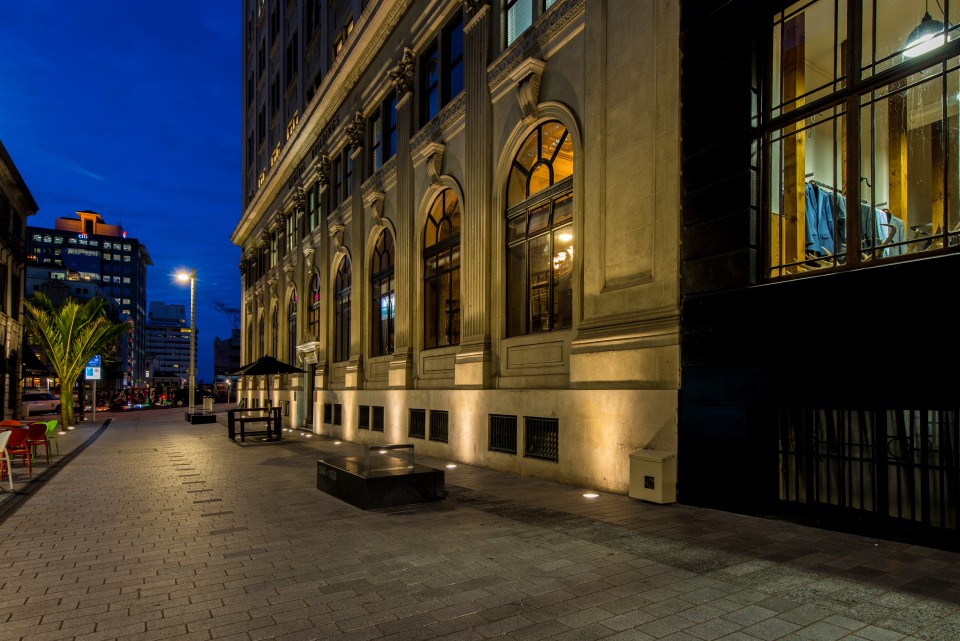
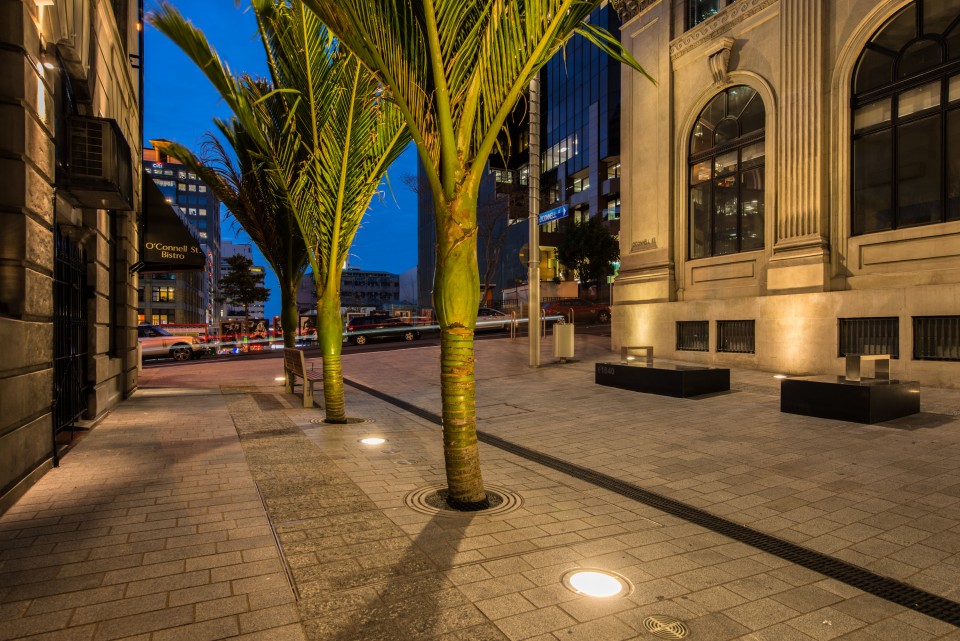
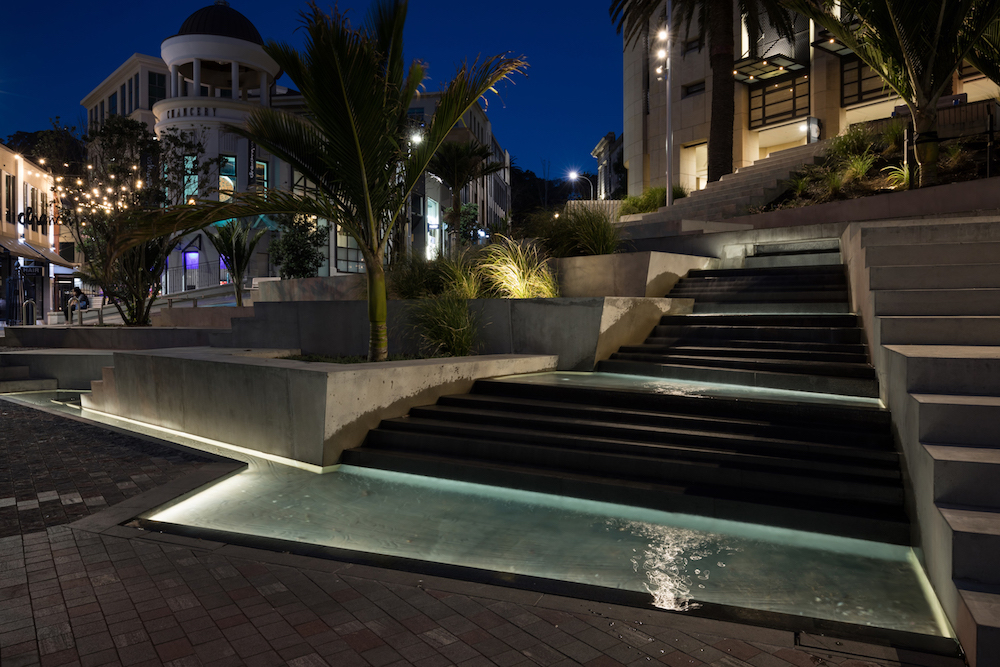
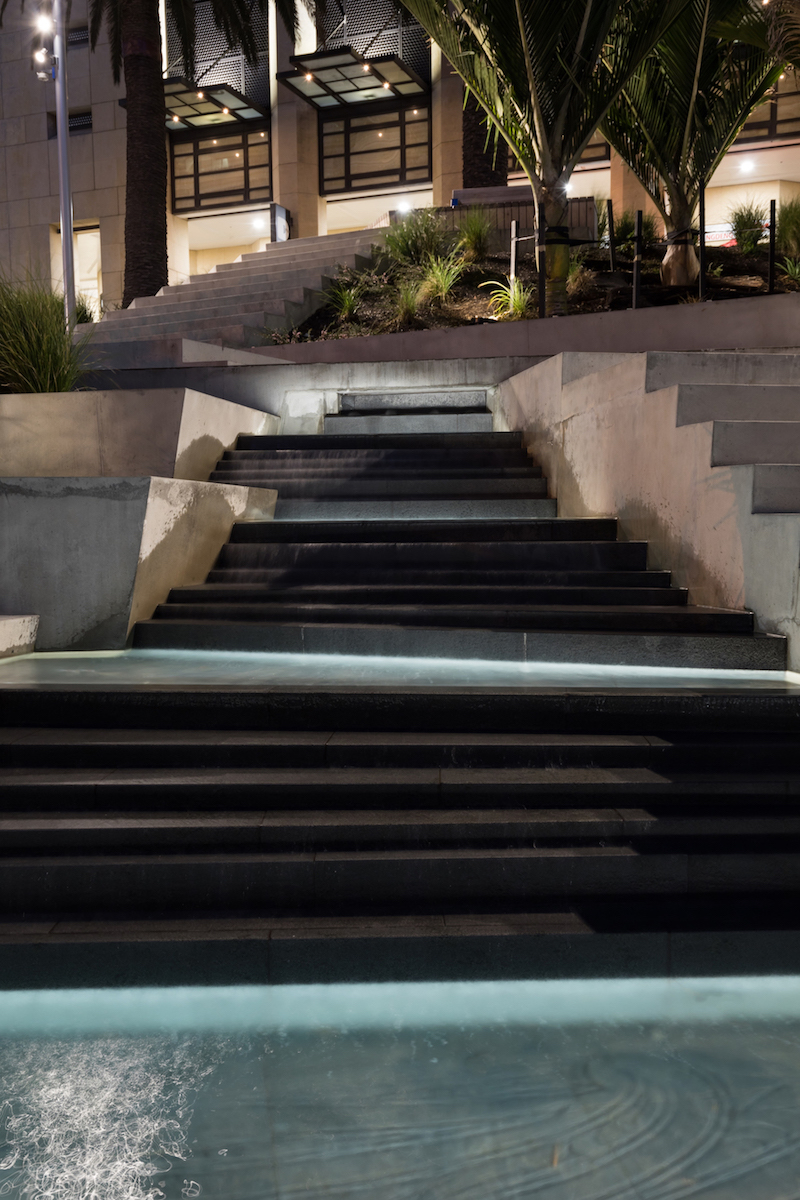
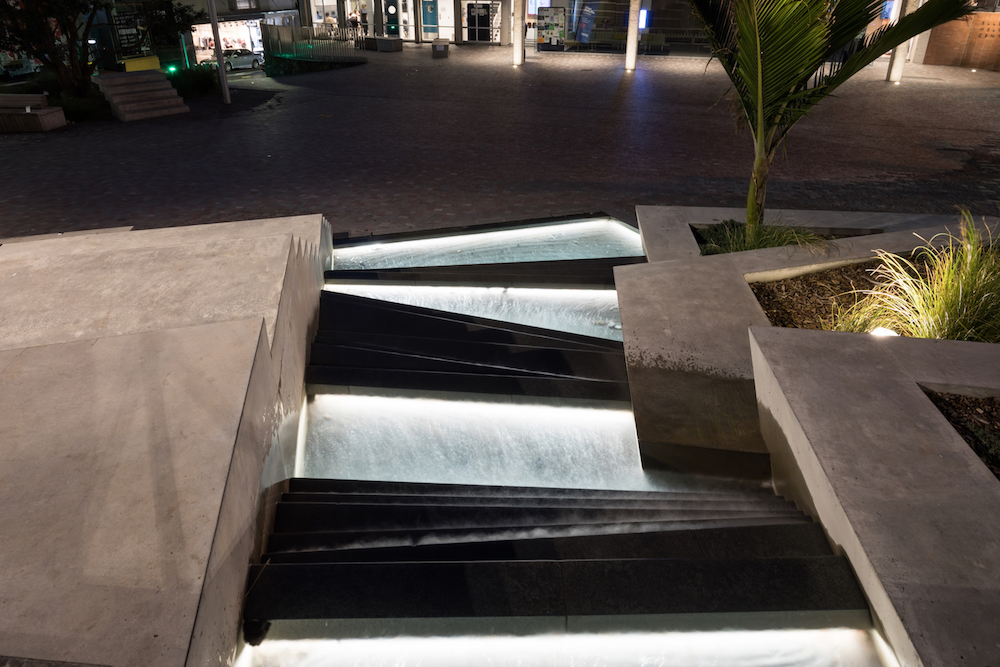
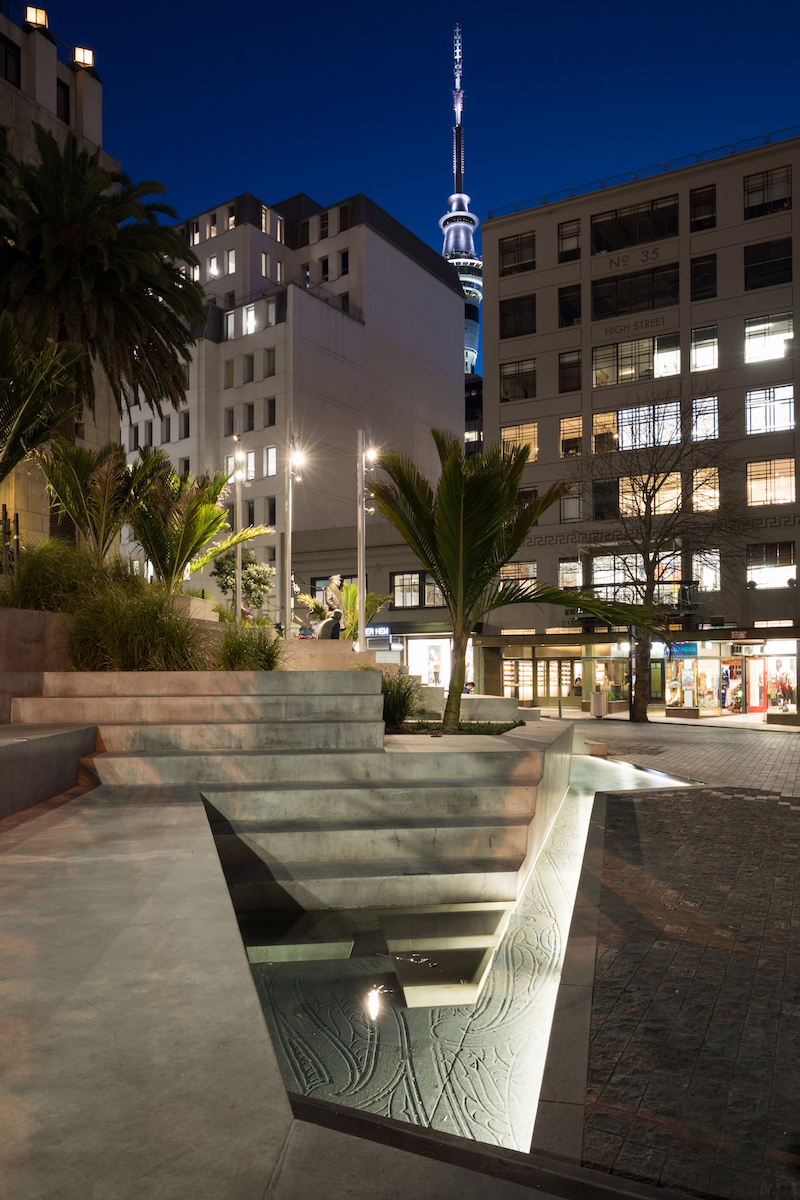
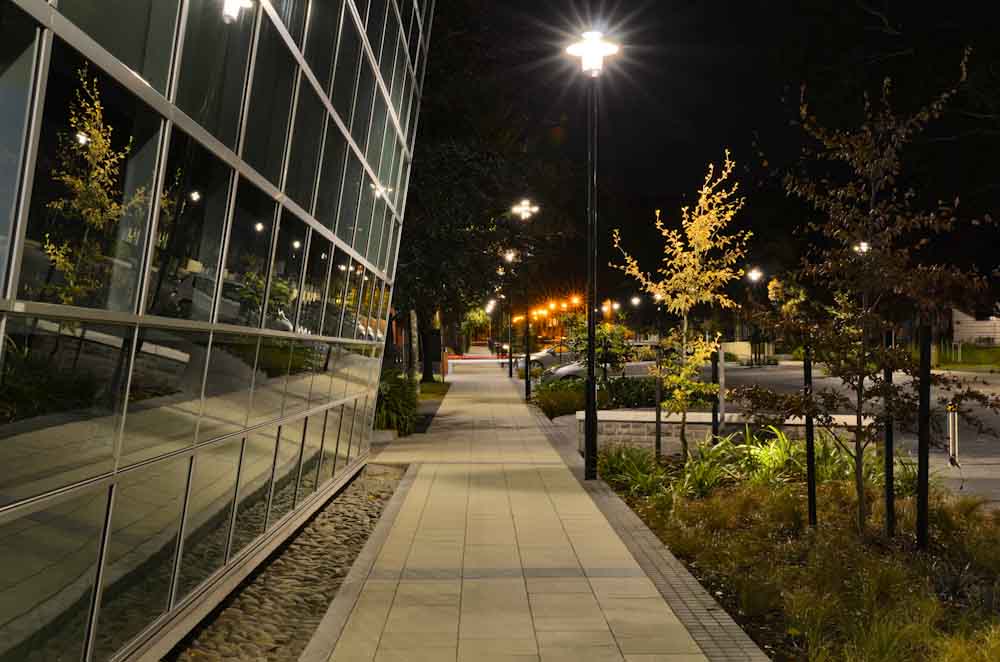
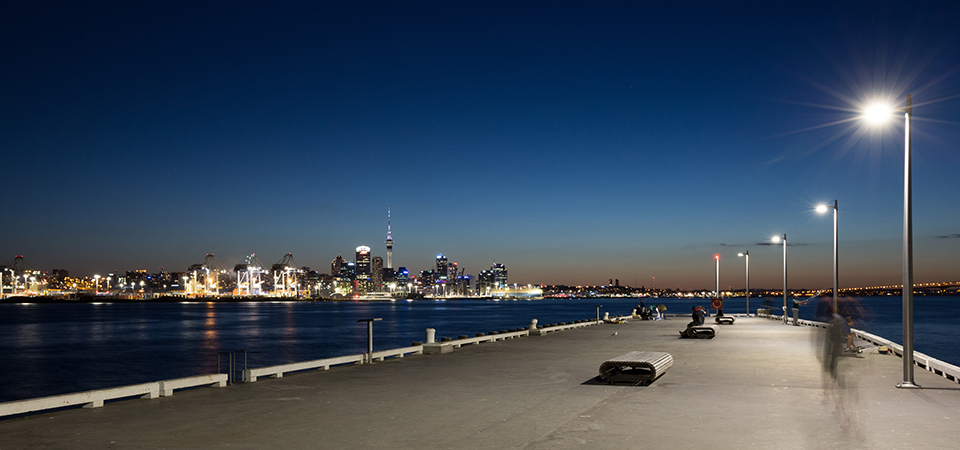
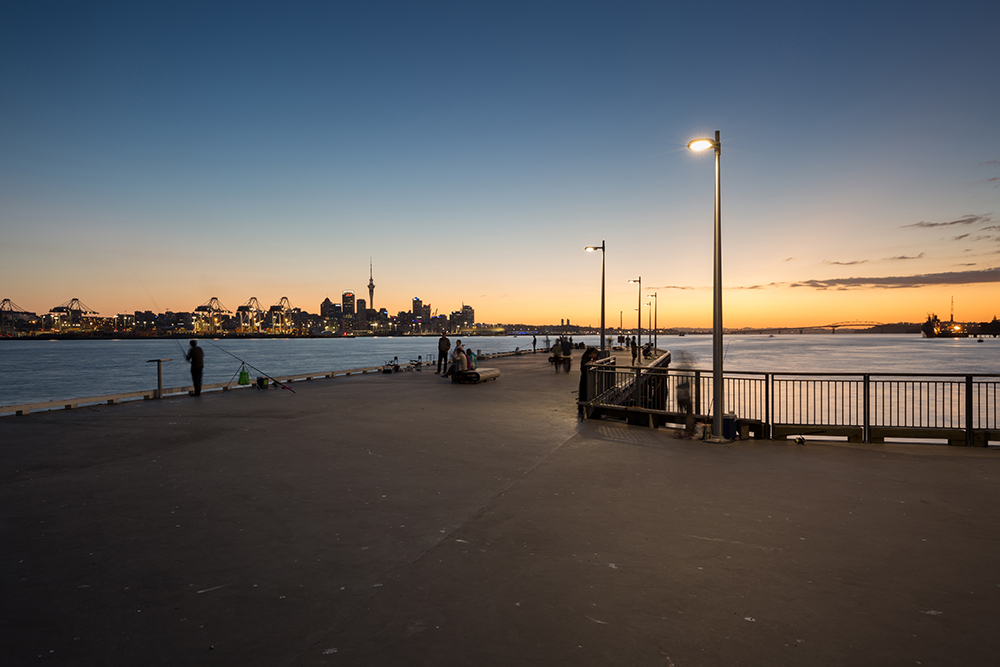
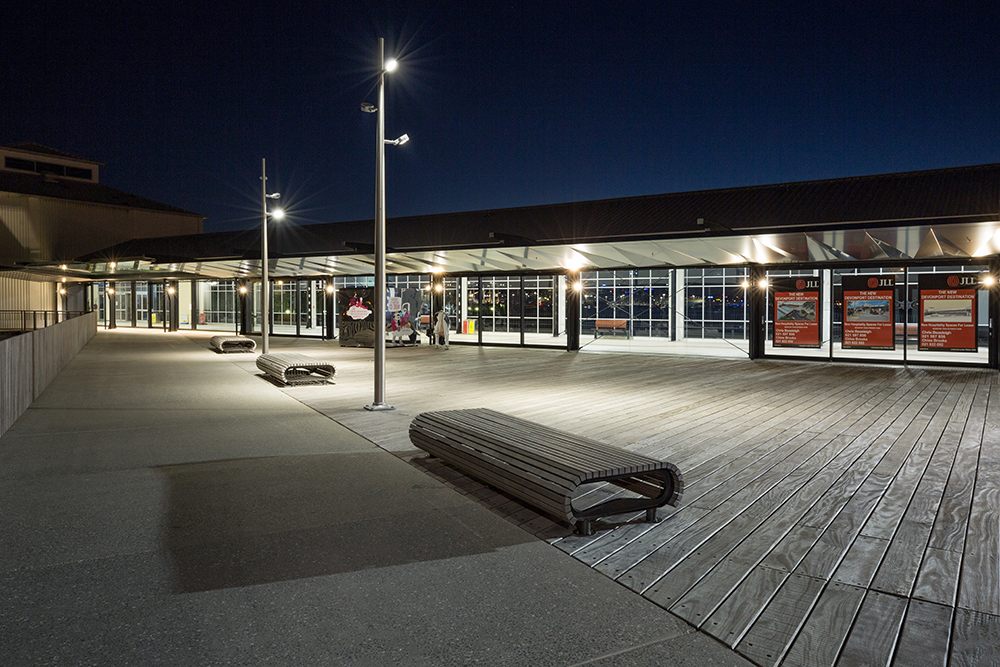
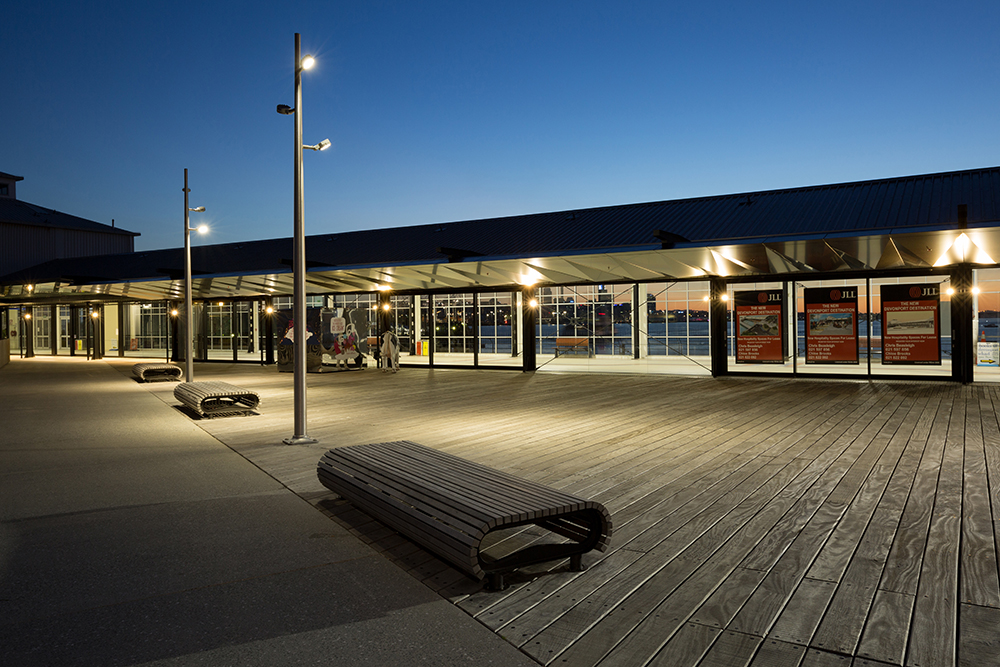
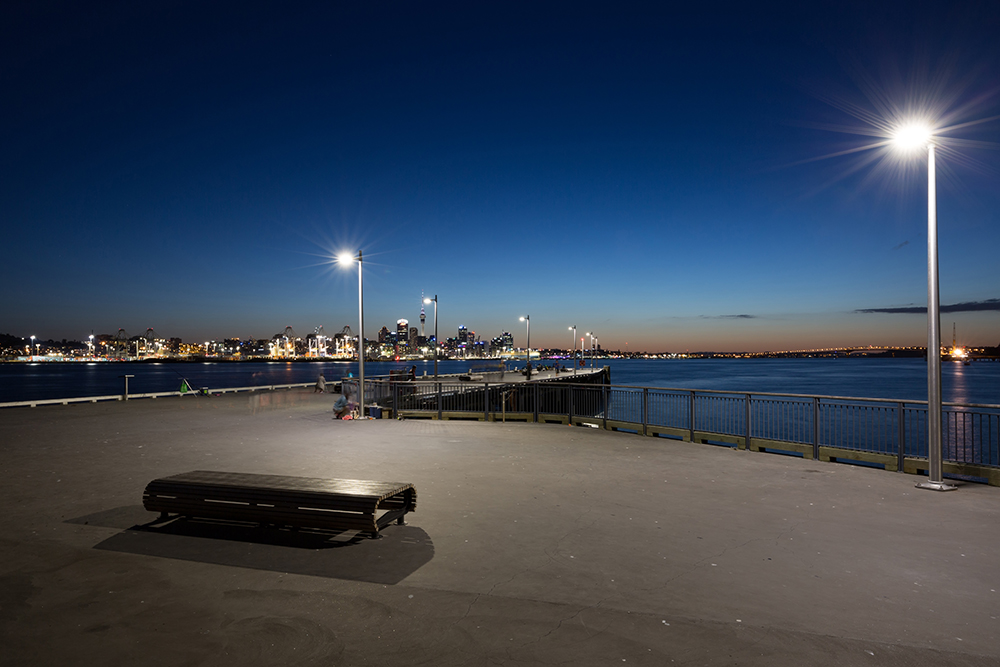
O’Connell Street Upgrade – Auckland
Product: We-ef ETC uplights , We-ef RFL Streetlights
Designer: LDP
View MoreClose